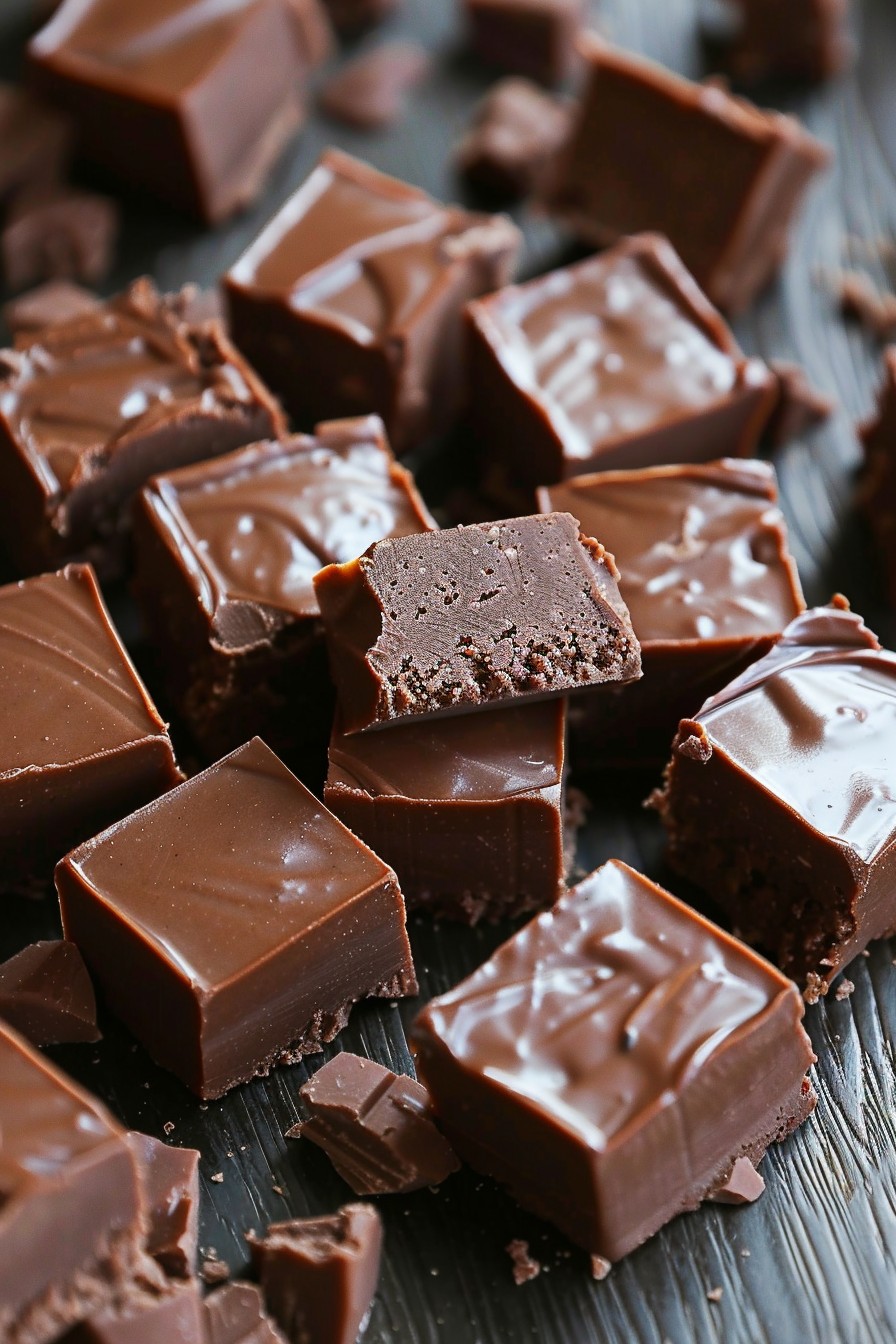
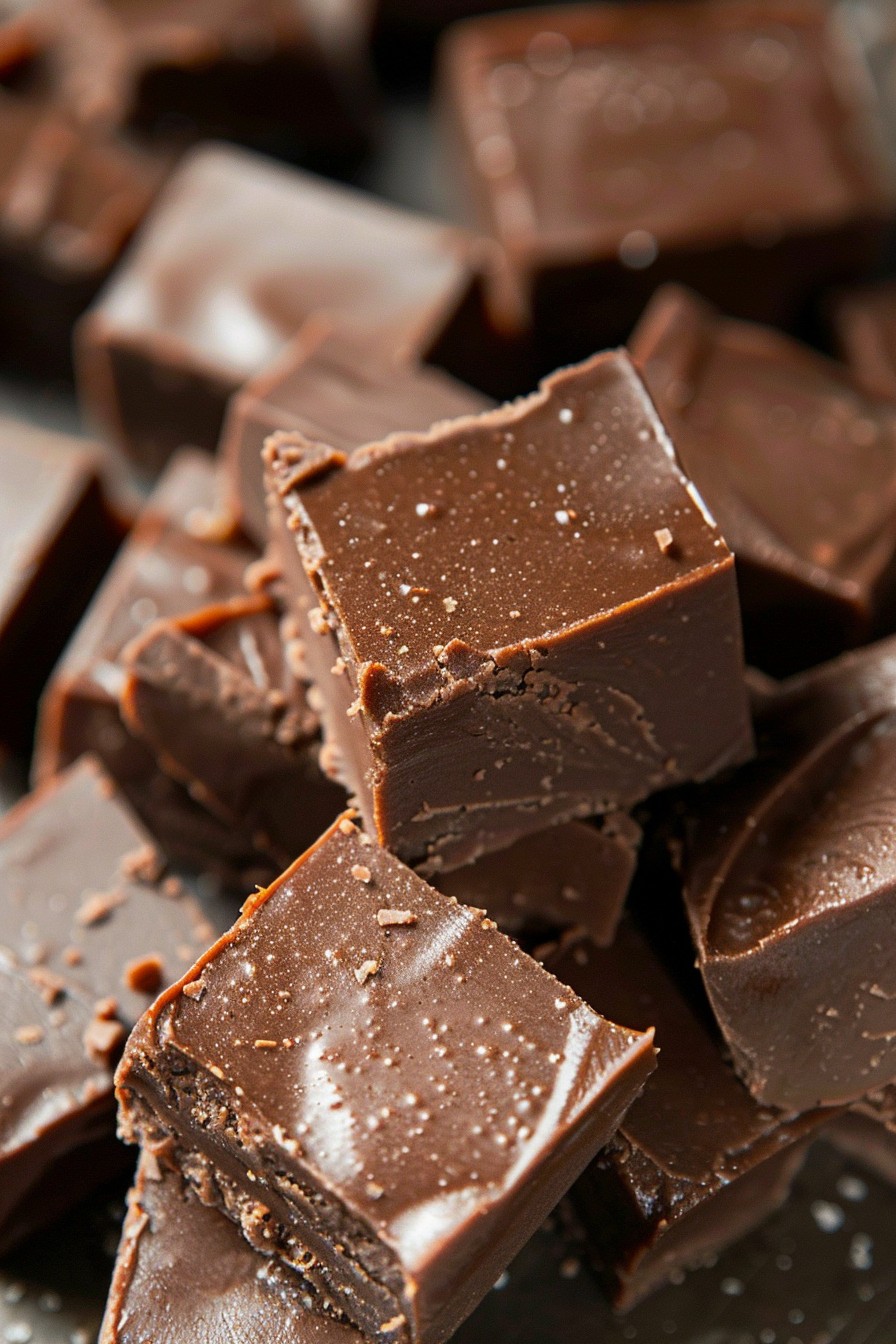
Unwrap the joy of making this classic dessert that’s been sweetening lives for generations. Perfect for holidays, gifts, or just because, this fudge is a chocolate lover’s dream come true.
Why This Recipe Works
- Simple ingredients you likely already have in your pantry.
- No fancy equipment needed, just a saucepan and some elbow grease.
- The rich, deep chocolate flavor is unbeatable, thanks to Hershey’s cocoa.
- It’s a forgiving recipe, perfect for beginners and seasoned cooks alike.
- Customizable with nuts, marshmallows, or your favorite add-ins.
Ingredients
- 3 cups granulated sugar
- 2/3 cup Hershey’s cocoa powder
- 1/8 teaspoon salt
- 1 1/2 cups milk
- 1/4 cup unsalted butter
- 1 teaspoon vanilla extract
Equipment Needed
- Heavy-bottomed saucepan
- Wooden spoon
- 8-inch square baking pan
- Parchment paper
Instructions
Step 1: Combine Dry Ingredients
In your heavy-bottomed saucepan, whisk together the sugar, cocoa, and salt. This ensures no lumps and a smooth fudge texture. Tip: Sifting the cocoa can help avoid any clumps for an even smoother finish.
Step 2: Add Milk and Heat
Stir in the milk and bring the mixture to a boil over medium heat, stirring constantly. Once boiling, reduce the heat to low and continue to cook until the mixture reaches 234°F on a candy thermometer, about 5 minutes. Tip: No thermometer? The soft-ball stage is when a drop of mixture forms a soft ball in cold water.
Step 3: Remove from Heat and Add Butter and Vanilla
Once at temperature, remove the saucepan from the heat. Add the butter and vanilla without stirring. Let the mixture cool to 110°F, about 45 minutes. This patience pays off in the perfect fudge consistency.
Step 4: Beat the Fudge
Using a wooden spoon, beat the fudge vigorously until it thickens and loses its gloss, about 10 minutes. This step is crucial for that classic fudge texture. Tip: If adding nuts or marshmallows, fold them in now.
Step 5: Pour and Cool
Quickly pour the fudge into the prepared pan. Smooth the top with the back of a spoon. Let it cool completely at room temperature before cutting into squares.
Tips and Tricks
Making fudge can seem daunting, but with these tips, you’ll be a pro in no time. Always use a heavy-bottomed saucepan to prevent burning. If your fudge doesn’t set, you can reheat it and try again—fudge is forgiving. For a smoother texture, ensure all ingredients are at room temperature before starting. Experiment with different extracts like peppermint or almond for a twist. And remember, the weather can affect your fudge; humid days might require a longer cooling time.
Recipe Variations
- Rocky Road: Add mini marshmallows and chopped walnuts after beating.
- Peanut Butter Swirl: Swirl in 1/2 cup of peanut butter before pouring into the pan.
- Mint Chocolate: Substitute vanilla extract with peppermint extract for a refreshing twist.
- Sea Salt Caramel: Drizzle caramel over the top and sprinkle with sea salt before cooling.
- Espresso: Add 2 teaspoons of instant espresso powder to the dry ingredients for a coffee kick.
Frequently Asked Questions
Can I use Dutch-processed cocoa?
Yes, but it might alter the flavor slightly. Hershey’s cocoa is natural, giving the fudge its classic taste. Dutch-processed cocoa is milder and less acidic, so adjust to your preference.
Why did my fudge turn out grainy?
Graininess usually means the sugar didn’t dissolve completely. Ensure you’re stirring constantly when heating and consider using superfine sugar for a smoother texture.
How long does homemade fudge last?
Stored in an airtight container at room temperature, it lasts up to 2 weeks. For longer storage, refrigerate for up to a month or freeze for 3 months.
Summary
This old fashioned Hershey cocoa fudge is a simple, delicious treat that’s stood the test of time. With a few basic ingredients and some patience, you can create a dessert that’s sure to impress.