Mmm, there’s nothing quite like the rich, creamy goodness of old fashioned fudge to transport you back to simpler times. This recipe is a foolproof way to bring that classic confectionery delight into your kitchen, with a modern twist that ensures perfection every time.
Why This Recipe Works
- Uses simple, pantry-staple ingredients for ease and accessibility.
- Incorporates a foolproof cooking method to prevent crystallization, ensuring smooth, creamy fudge every time.
- Balances sweetness with a hint of salt to elevate the chocolate flavor.
Ingredients
- 3 cups granulated sugar
- 3/4 cup unsalted butter
- 2/3 cup evaporated milk
- 12 oz semisweet chocolate chips
- 7 oz marshmallow creme
- 1 tsp vanilla extract
- 1/2 tsp salt
Equipment Needed
- Heavy-bottomed saucepan
- Wooden spoon
- 8-inch square baking pan
- Parchment paper
- Candy thermometer
Instructions
Step 1: Prepare Your Pan
Line an 8-inch square baking pan with parchment paper, leaving an overhang on the sides for easy removal. This little trick ensures your fudge doesn’t stick and makes cleanup a breeze.
Step 2: Melt the Base
In a heavy-bottomed saucepan over medium heat, combine the sugar, butter, and evaporated milk. Stir constantly until the mixture comes to a full boil, then insert your candy thermometer. Continue boiling until the mixture reaches 234°F (soft-ball stage), stirring occasionally to prevent scorching.
Step 3: Incorporate the Chocolate
Remove the saucepan from the heat and quickly stir in the chocolate chips until fully melted. The residual heat is perfect for this step, ensuring a smooth, lump-free fudge base.
Step 4: Add the Fluff and Flavor
Fold in the marshmallow creme, vanilla extract, and salt until well combined. The marshmallow creme adds a lightness to the fudge, while the vanilla and salt deepen the flavor profile.
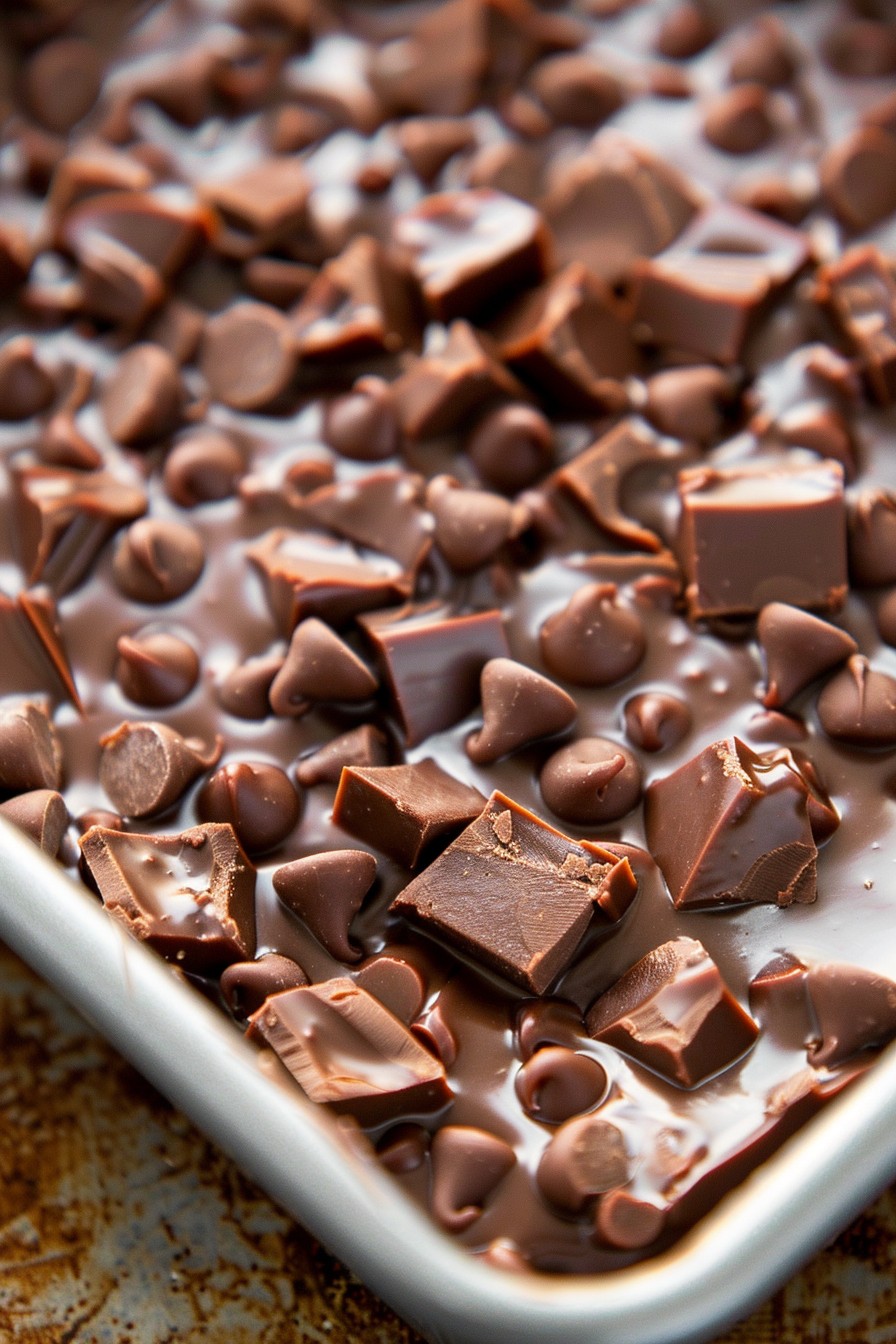
Step 5: Set and Serve
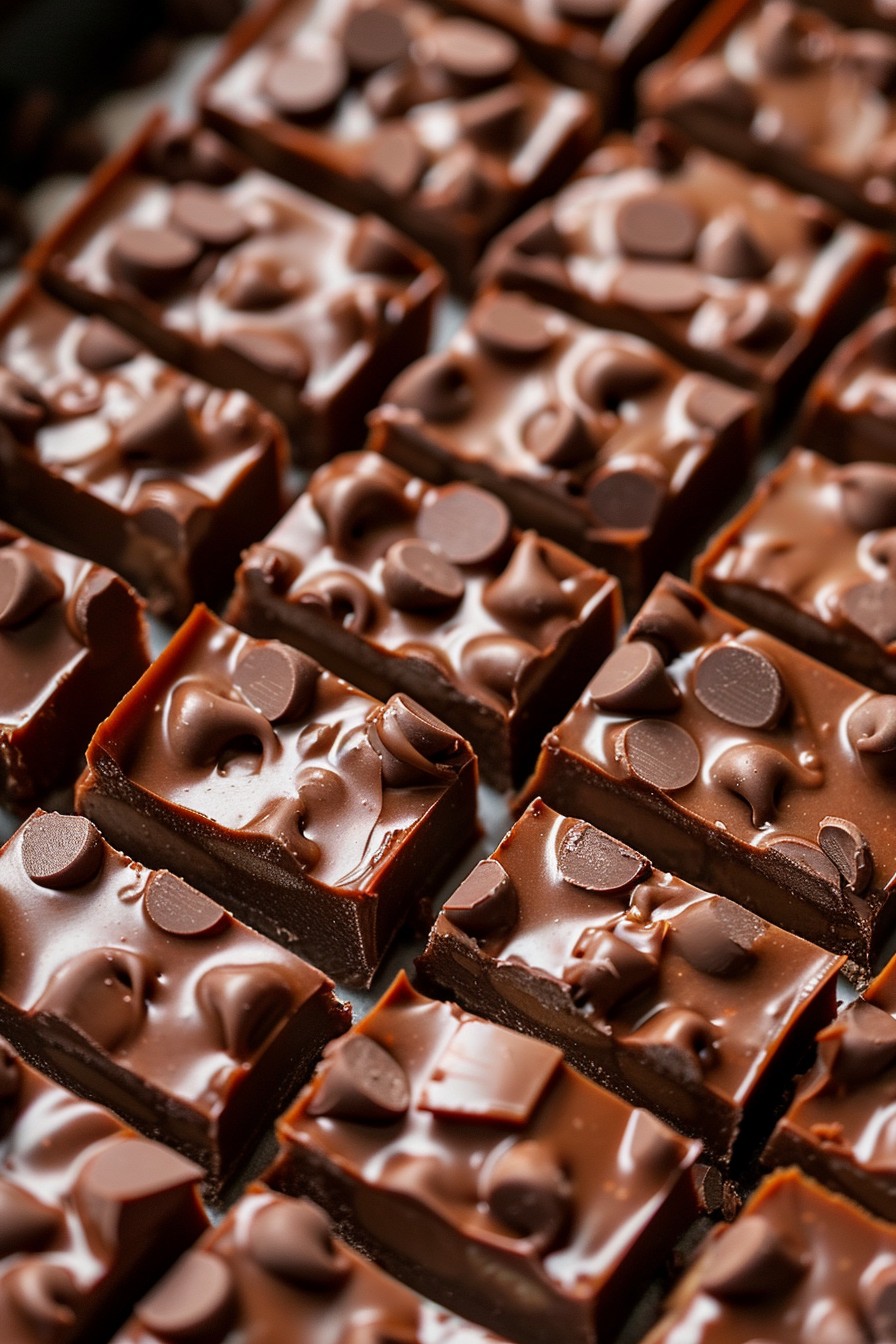
Pour the mixture into your prepared pan and smooth the top with a spatula. Let it cool at room temperature for at least 4 hours, or until set. For clean cuts, use a hot knife to slice the fudge into squares.
Tips and Tricks
Making fudge can be a bit of a science, but with these tips, you’ll be a confectionery pro in no time. Always use a heavy-bottomed saucepan to distribute heat evenly and prevent burning. A candy thermometer is non-negotiable for hitting the perfect soft-ball stage. If your fudge doesn’t set, don’t despair; it can still be used as a delicious ice cream topping. For an extra glossy finish, lightly grease your knife before cutting the fudge.
Recipe Variations
- Swap semisweet chocolate for dark or milk chocolate to alter the sweetness level.
- Add 1/2 cup of chopped nuts or dried fruit for texture and flavor contrast.
- Infuse the fudge with peppermint extract and top with crushed candy canes for a festive twist.
Frequently Asked Questions
Can I use marshmallows instead of marshmallow creme?
Yes, but you’ll need about 4 cups of mini marshmallows to match the volume. Melt them into the hot mixture before adding the chocolate chips for best results.
Why did my fudge turn out grainy?
Graininess usually occurs if the sugar crystallizes during cooking. Ensure you’re stirring constantly until the mixture boils and avoid stirring once it reaches the soft-ball stage.
How long does homemade fudge last?
Stored in an airtight container at room temperature, your fudge will stay fresh for up to 2 weeks. For longer storage, freeze it for up to 3 months.
Summary
This old fashioned fudge recipe is a testament to the timeless appeal of homemade sweets. With its creamy texture, rich chocolate flavor, and foolproof method, it’s sure to become a staple in your dessert repertoire.