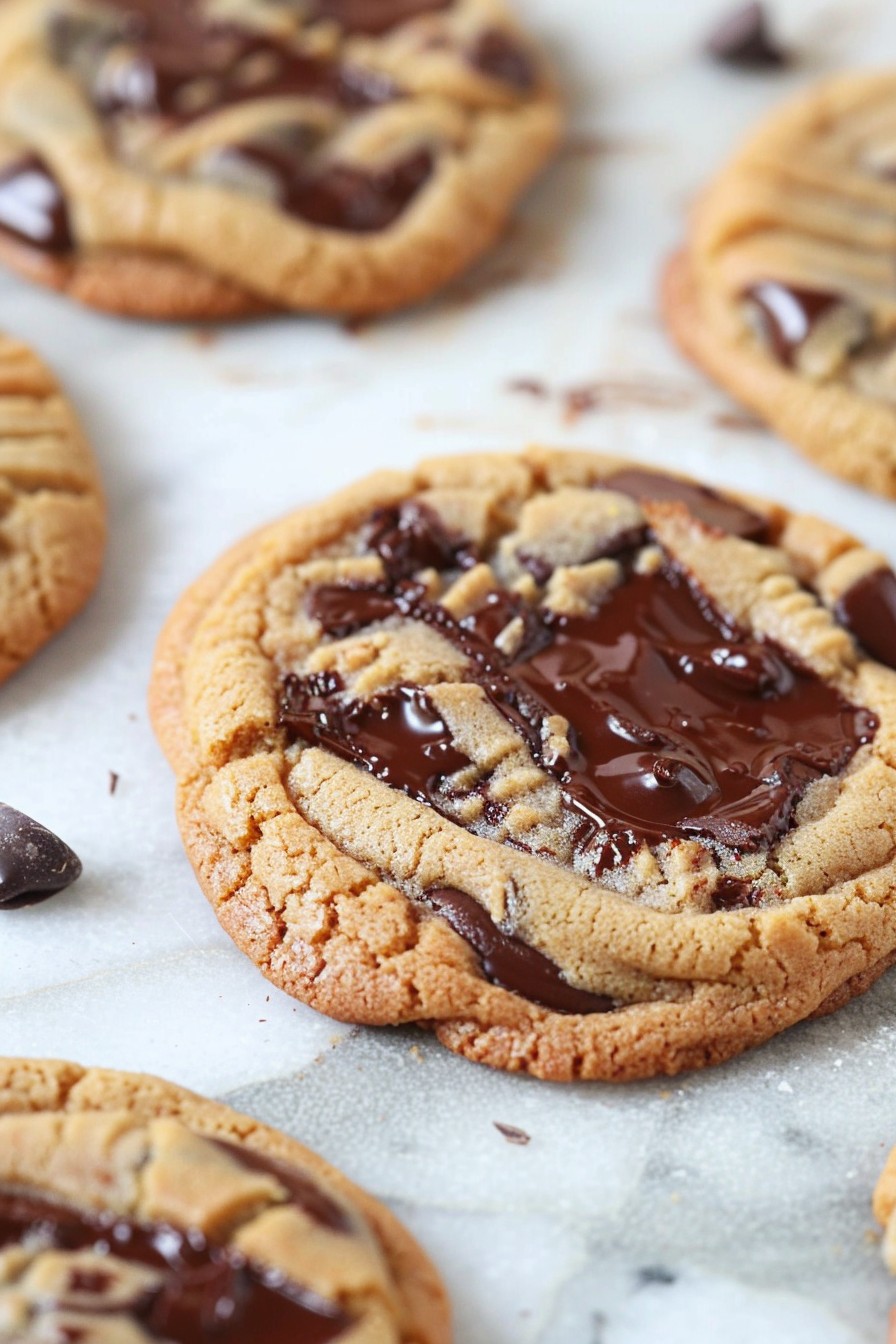
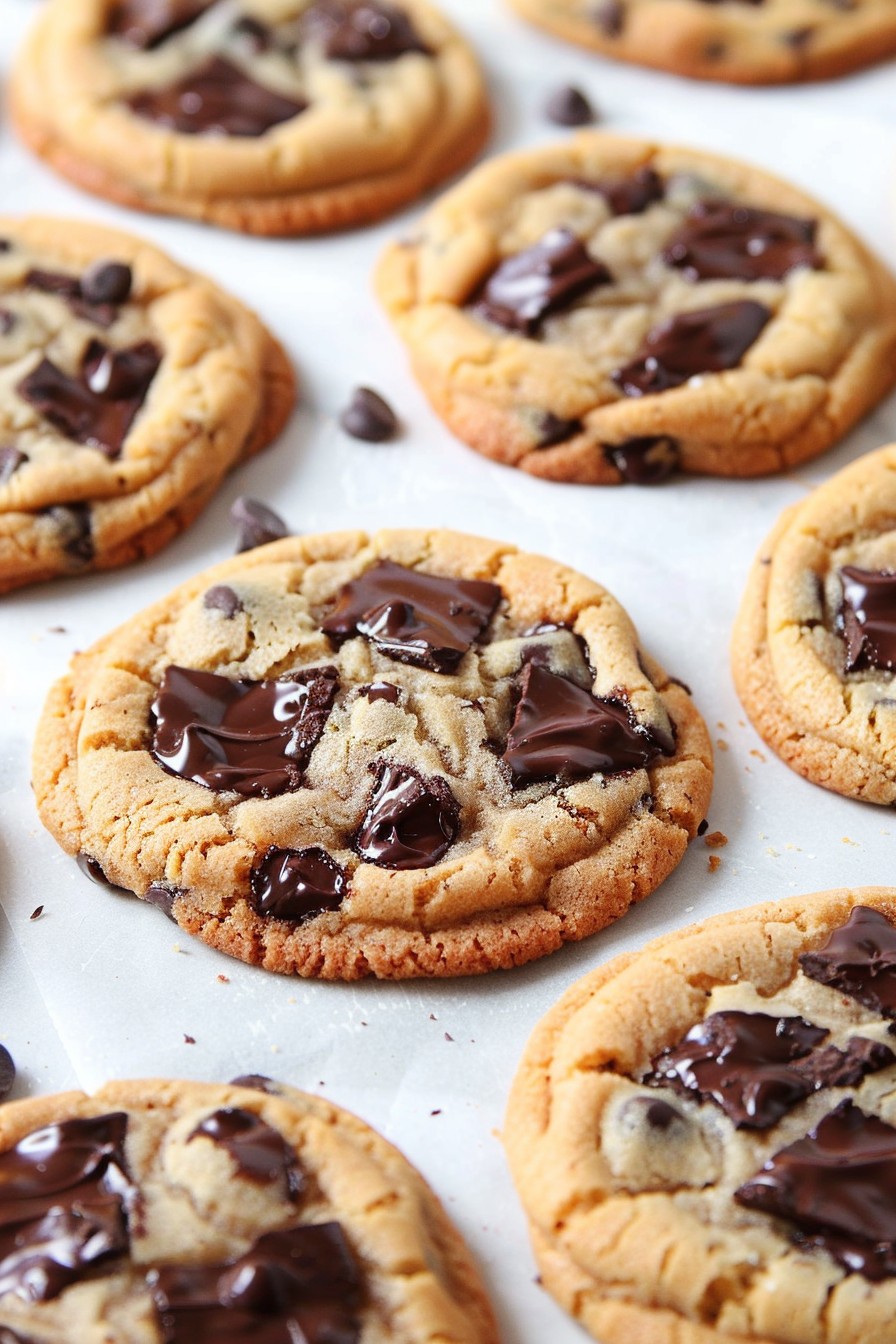
Baking these NYC-style chocolate chip cookies is like taking a bite out of the Big Apple itself—bold, unforgettable, and utterly satisfying. Perfect for those who crave that iconic chewy center with crispy edges, this recipe is a game-changer for cookie lovers everywhere.
Why This Recipe Works
- The combination of melted butter and a mix of brown and white sugars creates a rich, caramel-like flavor and chewy texture.
- Resting the dough overnight deepens the flavors and ensures the perfect texture.
- Using a mix of chocolate chips and chunks gives you pockets of melty chocolate in every bite.
Ingredients
- 2 1/4 cups all-purpose flour
- 1 tsp baking soda
- 1 tsp salt
- 1 cup unsalted butter, melted and cooled
- 3/4 cup granulated sugar
- 3/4 cup packed brown sugar
- 2 large eggs
- 2 tsp vanilla extract
- 2 cups chocolate chips and chunks
Equipment Needed
- Mixing bowls
- Electric mixer
- Baking sheets
- Parchment paper
- Ice cream scoop
Instructions
Step 1: Mix the Dry Ingredients
In a medium bowl, whisk together the flour, baking soda, and salt. This ensures your cookies have the perfect rise and texture. Tip: Sifting the flour can prevent lumps for a smoother dough.
Step 2: Cream the Butter and Sugars
Using an electric mixer, beat the melted butter, granulated sugar, and brown sugar until light and fluffy. This step is crucial for incorporating air into the dough, leading to a lighter cookie.
Step 3: Add Eggs and Vanilla
Beat in the eggs one at a time, then stir in the vanilla. The eggs bind the ingredients together, while the vanilla adds depth of flavor.
Step 4: Combine Wet and Dry Ingredients
Gradually mix the dry ingredients into the wet ingredients until just combined. Overmixing can lead to tough cookies, so stop as soon as the flour disappears.
Step 5: Fold in Chocolate Chips
Gently fold in the chocolate chips and chunks. Using a mix of sizes ensures every bite has chocolate. Tip: Reserve some chips to press onto the tops of the cookies before baking for a bakery-style look.
Step 6: Chill the Dough
Cover the dough and chill for at least 24 hours. This resting period allows the flavors to meld and the dough to hydrate, resulting in a better texture.
Step 7: Bake to Perfection
Preheat your oven to 375°F and scoop the dough onto parchment-lined baking sheets. Bake for 10-12 minutes until the edges are golden but the centers are still soft. Tip: Rotate the baking sheets halfway through for even baking.
Tips and Tricks
For those looking to elevate their cookie game, consider browning the butter for a nuttier flavor. Additionally, using a kitchen scale to measure ingredients can ensure consistency. Don’t skip the chilling step—it’s the secret to the perfect texture. Experiment with different types of chocolate to find your favorite combination. Lastly, letting the cookies cool on the baking sheet for a few minutes before transferring them helps them set without falling apart.
Recipe Variations
- Add a teaspoon of espresso powder to the dry ingredients for a mocha twist.
- Swap out half the chocolate chips for nuts or dried fruit for added texture.
- Use dark brown sugar instead of light for a deeper molasses flavor.
- Incorporate a sprinkle of sea salt on top before baking for a sweet and salty contrast.
- Try using white chocolate chips and macadamia nuts for a tropical version.
Frequently Asked Questions
Can I make the dough ahead of time?
Absolutely! The dough can be refrigerated for up to 72 hours or frozen for a month. Just let it come to room temperature before baking if frozen.
Why did my cookies spread too much?
This usually happens if the butter is too warm or the dough wasn’t chilled long enough. Ensuring your dough is properly chilled and your oven is at the right temperature can prevent this.
Can I use all granulated sugar instead of a mix?
While you can, the brown sugar adds moisture and chewiness to the cookies. Using all granulated sugar will result in a crisper, less chewy cookie.
Summary
These NYC-style chocolate chip cookies are the perfect blend of chewy and crispy, with deep flavors and plenty of chocolate. Follow the tips and variations to make them your own, and don’t forget the crucial chilling time for the best results.