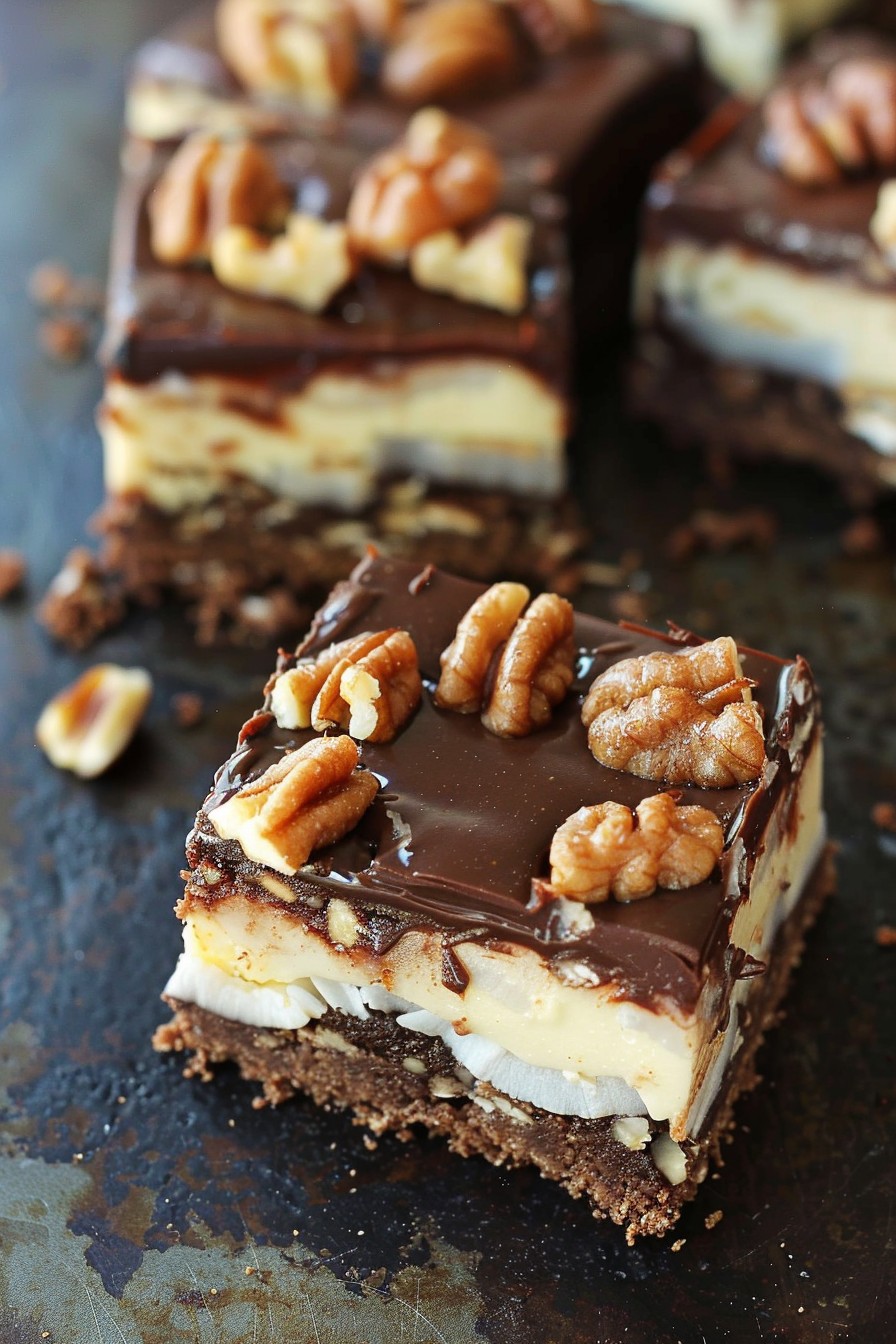
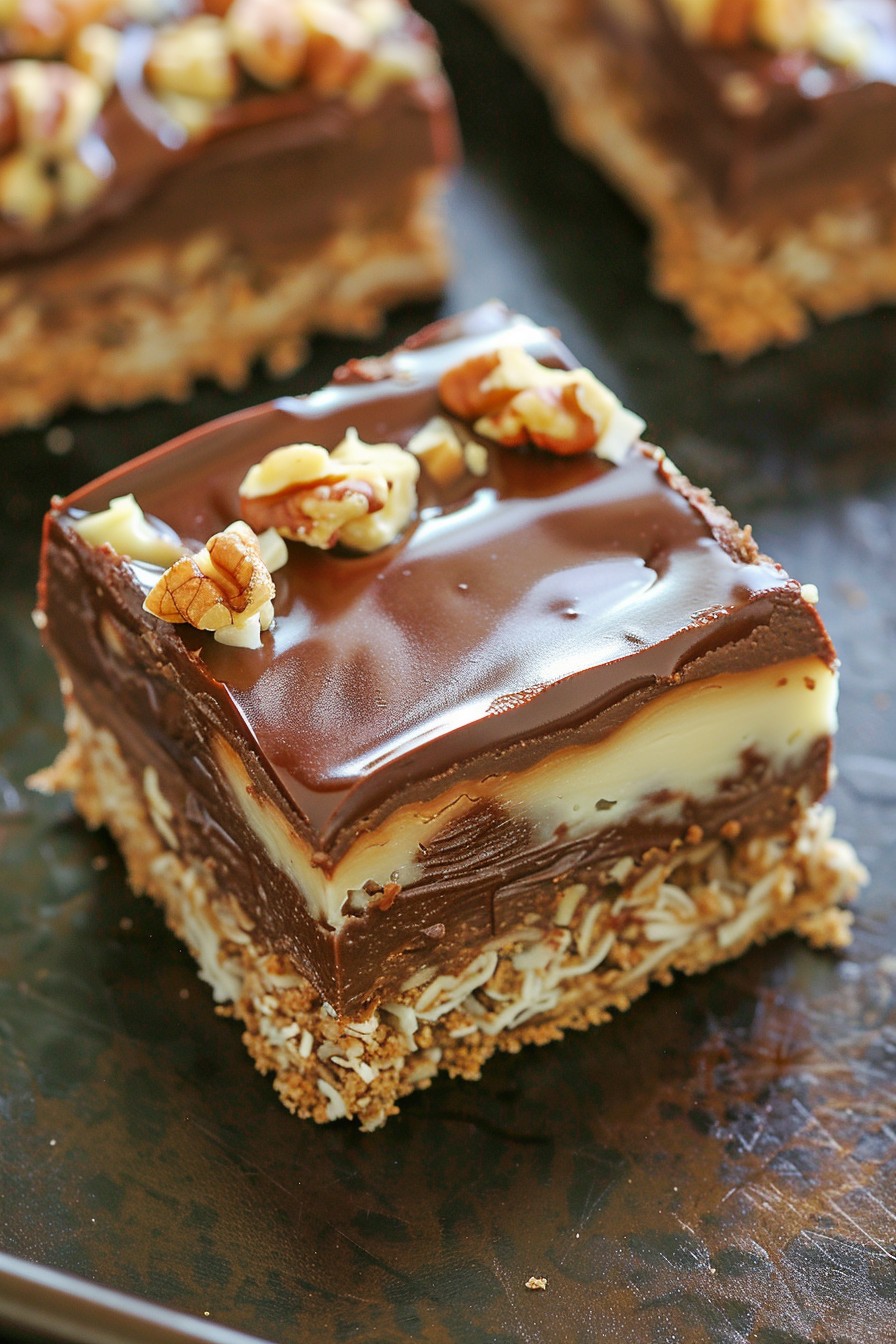
Forget about turning on your oven because these Nanaimo bars are here to save the day. Originating from Canada, these no-bake treats are a triple threat with a crumbly base, creamy middle, and chocolatey top. Let’s dive into making these irresistible bars that are as fun to make as they are to eat.
Why This Recipe Works
- No baking required, making it perfect for hot summer days or when you’re short on time.
- The combination of textures from the crumbly base to the smooth middle and hard chocolate top creates a delightful eating experience.
- Customizable layers allow you to tweak the recipe to your taste preferences.
Ingredients
- 1/2 cup unsalted butter, melted
- 1/4 cup granulated sugar
- 5 tbsp cocoa powder
- 1 egg, beaten
- 1 3/4 cups graham cracker crumbs
- 1 cup shredded coconut
- 1/2 cup chopped walnuts
- 1/4 cup unsalted butter, softened
- 2 tbsp heavy cream
- 2 tbsp vanilla custard powder
- 2 cups powdered sugar
- 4 oz semi-sweet chocolate, chopped
- 1 tbsp unsalted butter
Equipment Needed
- 8×8 inch baking pan
- Parchment paper
- Mixing bowls
- Whisk
- Spatula
- Double boiler or microwave-safe bowl
Instructions
Prepare the Base Layer
In a mixing bowl, combine the melted butter, granulated sugar, and cocoa powder. Stir in the beaten egg, then fold in the graham cracker crumbs, shredded coconut, and chopped walnuts until well mixed. Press this mixture firmly into the bottom of your prepared baking pan. Chill in the refrigerator for at least 30 minutes to set.
Make the Middle Layer
Beat together the softened butter, heavy cream, and vanilla custard powder until smooth. Gradually add the powdered sugar, continuing to beat until the mixture is light and fluffy. Spread this over the chilled base layer evenly. Return to the refrigerator for another 30 minutes to set.
Create the Top Layer
Melt the semi-sweet chocolate and butter together using a double boiler or in the microwave, stirring until smooth. Pour over the middle layer, spreading it out to cover completely. Chill in the refrigerator until the chocolate is set, about 30 minutes. Once set, cut into squares and serve.
Tips and Tricks
For a smoother middle layer, ensure your butter is properly softened before mixing. If you’re in a hurry, you can speed up the chilling process by placing the pan in the freezer, but keep an eye on it to prevent the layers from becoming too hard. To get clean cuts, dip your knife in hot water and wipe it dry between cuts. Experiment with different types of chocolate for the top layer to vary the flavor profile. If you’re not a fan of walnuts, feel free to substitute with pecans or leave them out entirely.
Recipe Variations
- For a minty twist, add a few drops of peppermint extract to the middle layer.
- Swap out the semi-sweet chocolate for dark or milk chocolate depending on your preference.
- Add a layer of peanut butter between the base and middle layers for a peanut butter chocolate version.
- Incorporate orange zest into the middle layer for a citrusy note.
- Use almond flour instead of graham cracker crumbs for a gluten-free option.
Frequently Asked Questions
Can I make Nanaimo bars ahead of time? Absolutely! These bars actually taste better after they’ve had time to set in the fridge overnight, making them a great make-ahead dessert for parties or gatherings.
How should I store Nanaimo bars? Keep them in an airtight container in the refrigerator for up to a week. They can also be frozen for up to 3 months; just thaw in the fridge before serving.
Can I use something other than custard powder in the middle layer? Yes, if you can’t find custard powder, you can substitute with vanilla pudding mix, though the texture and flavor might be slightly different.
Summary
Nanaimo bars are a delightful no-bake treat that combines a crumbly base, creamy middle, and chocolatey top. Easy to make and customizable, they’re perfect for any occasion. With these tips and variations, you’re well on your way to creating your own version of this Canadian classic.