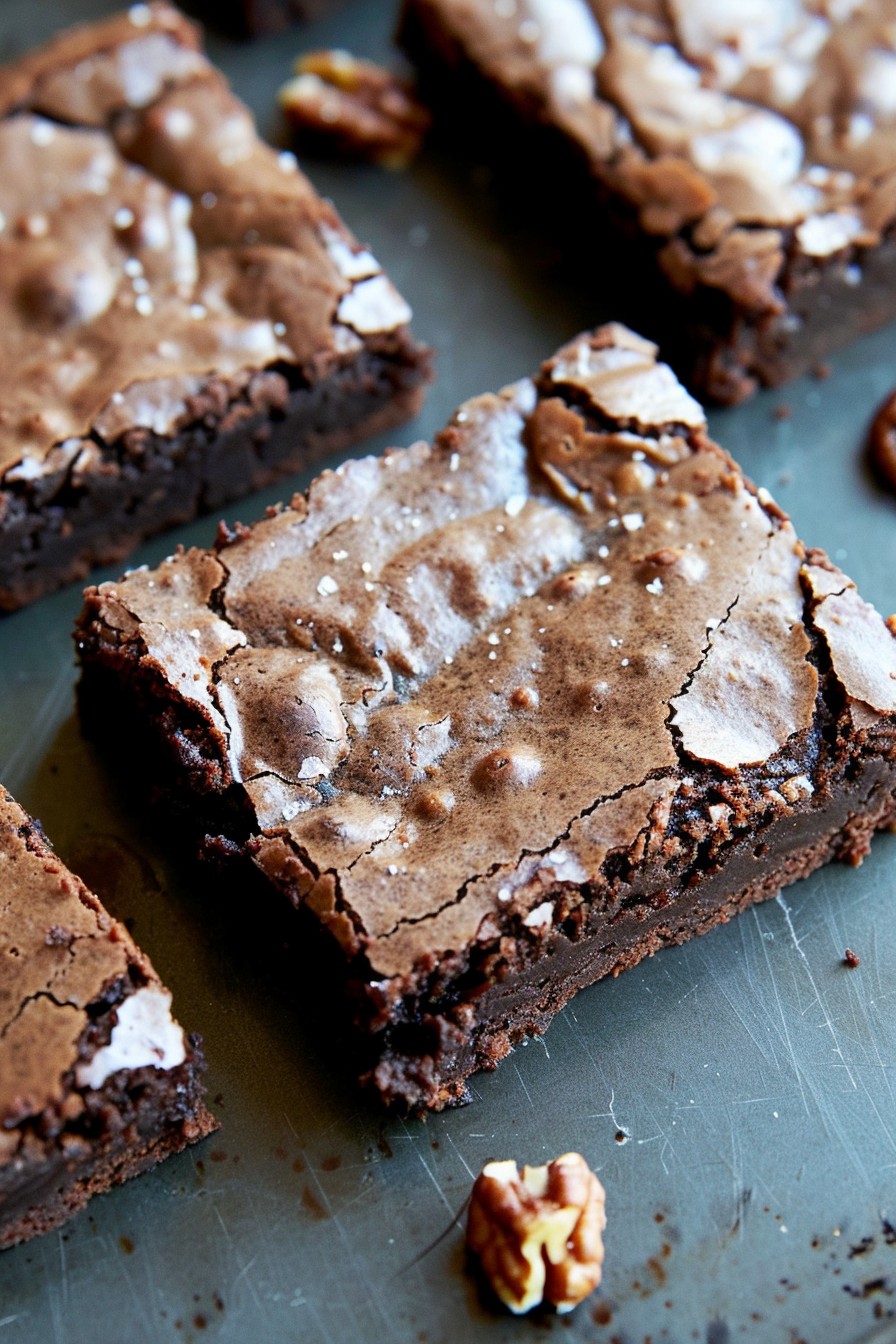
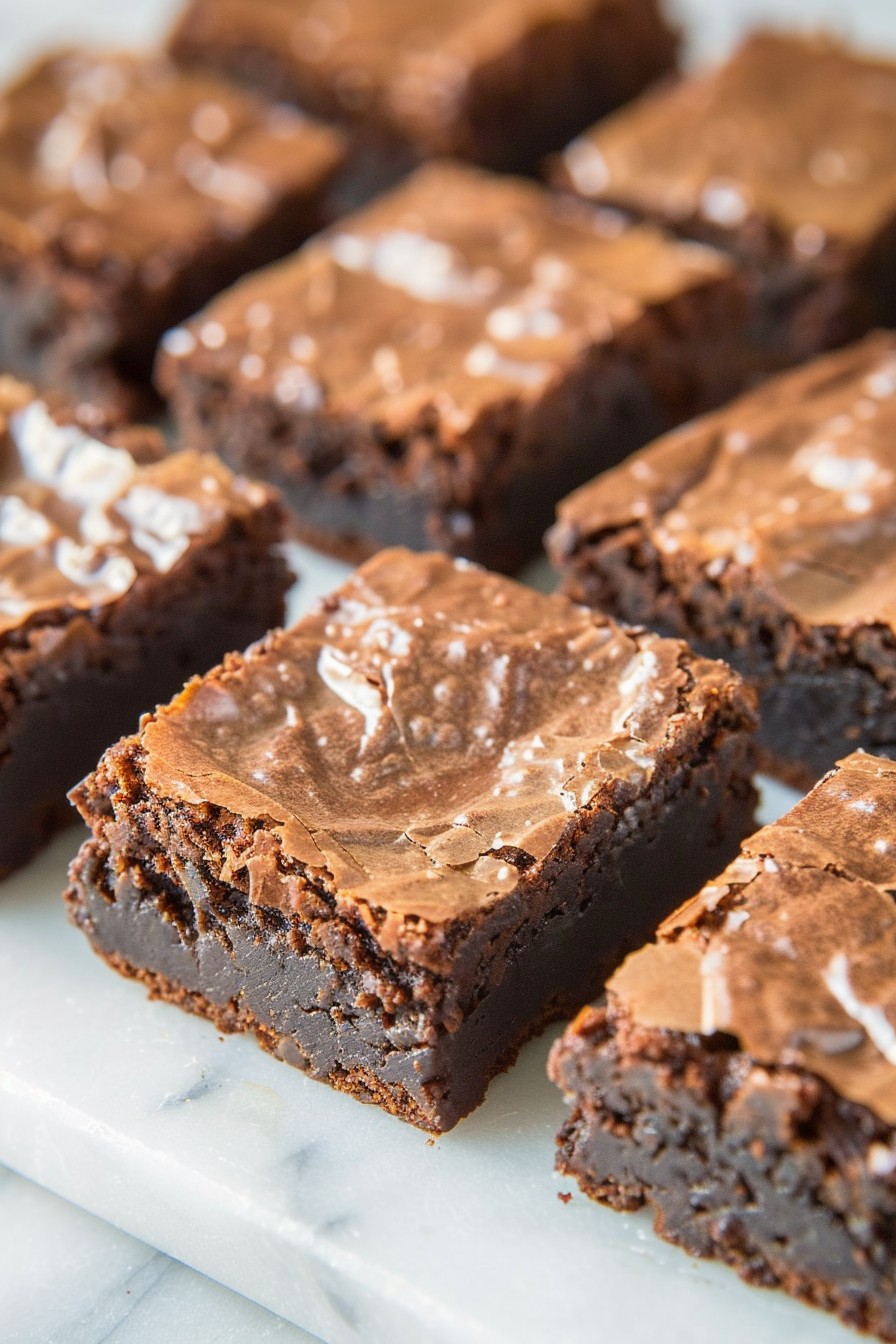
Never underestimate the power of a classic. These Lunchroom Ladies Brownies have been satisfying sweet tooths for half a century, and for good reason. Rich, fudgy, and packed with nostalgia, this recipe is a testament to the timeless appeal of simple, delicious baking.
Why This Recipe Works
- Perfect balance of fudgy and cakey textures that brownie lovers crave.
- Uses pantry staples, making it easy to whip up anytime.
- The secret ingredient (a dash of coffee) enhances the chocolate flavor without overpowering it.
- Sturdy enough to hold up in a lunchbox, yet decadent enough for a dinner party.
- Proven track record: 50 years of happy eaters can’t be wrong.
Ingredients
- 1 cup unsalted butter, melted
- 2 cups granulated sugar
- 4 large eggs
- 1 teaspoon vanilla extract
- 1/2 cup cocoa powder
- 1 cup all-purpose flour
- 1/4 teaspoon salt
- 1/2 teaspoon instant coffee granules
- 1 cup chopped walnuts (optional)
Equipment Needed
- 9×13 inch baking pan
- Mixing bowls
- Whisk
- Rubber spatula
- Measuring cups and spoons
Instructions
Preheat and Prepare
Start by preheating your oven to 350°F (175°C). Grease your 9×13 inch baking pan with butter or line it with parchment paper for easy removal. This ensures your brownies won’t stick and will come out perfectly every time.
Mix the Wet Ingredients
In a large mixing bowl, combine the melted butter and sugar. Whisk until well blended. Add the eggs one at a time, whisking after each addition. Stir in the vanilla extract. The mixture should be smooth and slightly glossy.
Combine Dry Ingredients
In a separate bowl, sift together the cocoa powder, flour, salt, and instant coffee granules. This not only removes lumps but also aerates the flour, leading to lighter brownies. Gradually add the dry ingredients to the wet mixture, stirring until just combined. Overmixing can lead to tough brownies.
Add Optional Nuts
If you’re using walnuts, fold them into the batter now. They add a nice crunch and contrast to the fudgy texture of the brownies. Pour the batter into the prepared pan, spreading it evenly with a rubber spatula.
Bake to Perfection
Bake for 25-30 minutes, or until a toothpick inserted into the center comes out with a few moist crumbs. Remember, the brownies will continue to cook slightly as they cool, so don’t overbake. Let them cool in the pan before cutting into squares.
Tips and Tricks
For an extra fudgy texture, reduce the flour to 3/4 cup. If you prefer cakey brownies, add an extra 1/4 cup of flour. To make cleanup a breeze, line your mixing bowl with plastic wrap before adding the dry ingredients—just lift it out when you’re done. For a shiny crust on top, don’t skip the step of whisking the eggs and sugar thoroughly. And finally, for evenly cut brownies, use a plastic knife and wipe it clean between cuts.
Recipe Variations
- Swap out the walnuts for pecans or almonds for a different nutty flavor.
- Add 1/2 cup of chocolate chips to the batter for double the chocolate goodness.
- For a minty twist, stir in 1/2 teaspoon of peppermint extract along with the vanilla.
- Top the baked brownies with a layer of peanut butter frosting for a decadent treat.
- Make them gluten-free by substituting the all-purpose flour with your favorite gluten-free blend.
Frequently Asked Questions
Can I use salted butter instead of unsalted?
Yes, you can use salted butter, but you may want to reduce the added salt in the recipe to avoid overly salty brownies. The general rule is to halve the amount of salt if using salted butter.
How should I store these brownies?
These brownies can be stored in an airtight container at room temperature for up to 3 days. For longer storage, wrap them tightly and freeze for up to 3 months. Thaw at room temperature before serving.
Can I make these brownies without eggs?
While eggs contribute to the structure and texture of the brownies, you can try substituting each egg with 1/4 cup of unsweetened applesauce or a commercial egg replacer. Keep in mind that the texture may be slightly different.
Summary
This 50-year-old recipe for Lunchroom Ladies Brownies is a foolproof way to bring a touch of nostalgia and a lot of flavor to your table. Simple ingredients, easy steps, and delicious results make it a timeless classic.