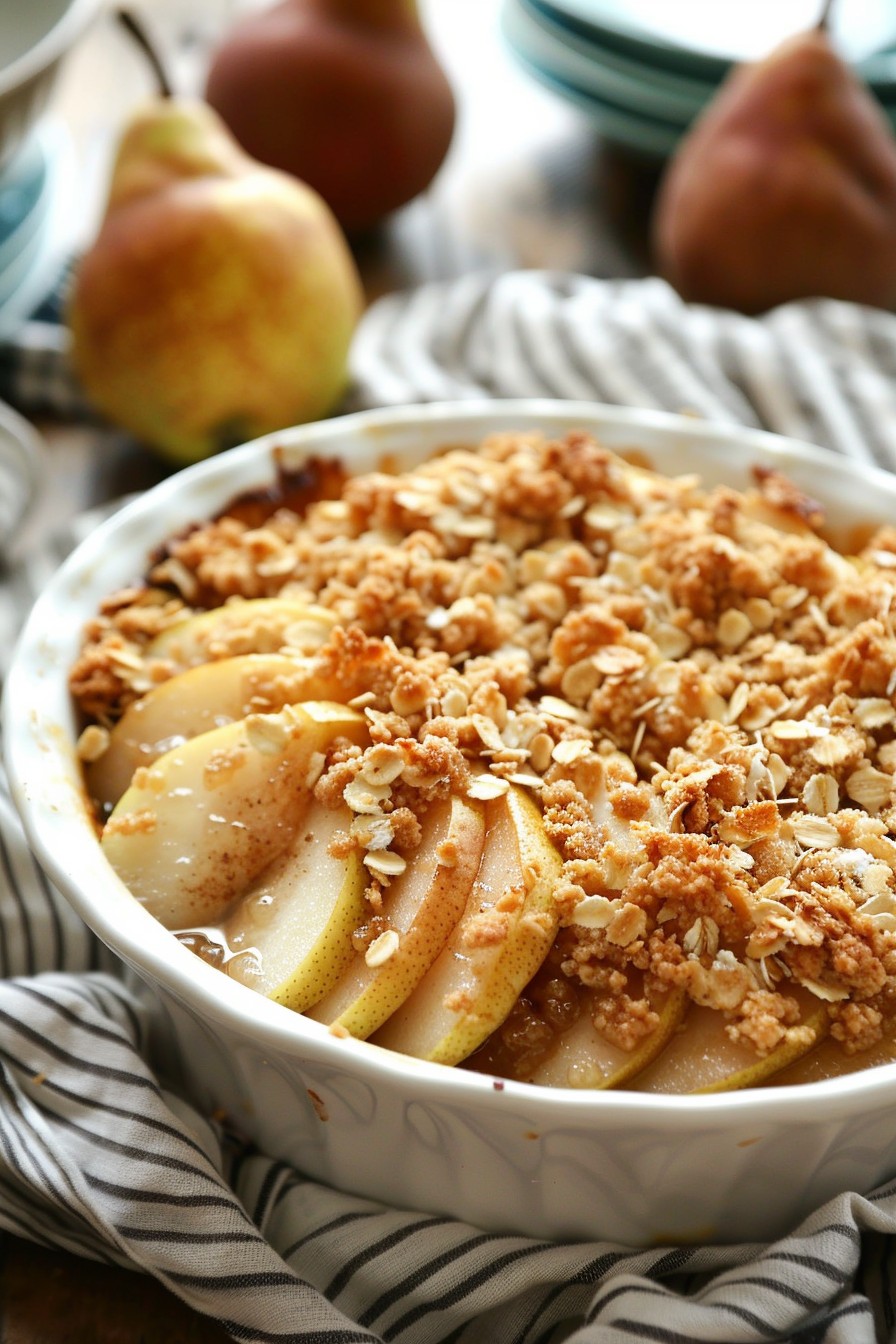
Perfect for those who love dessert but don’t love spending hours in the kitchen, this easy pear crisp is your new go-to. Packed with juicy pears and a crunchy topping, it’s simplicity at its best.
Why This Recipe Works
- The combination of ripe pears and a buttery crisp topping creates a perfect balance of sweet and crunchy.
- It’s incredibly easy to make, requiring just a few simple steps and ingredients you likely already have in your pantry.
- This recipe is versatile, allowing for various substitutions and additions to suit your taste.
Ingredients
- 4 cups peeled and sliced pears
- 1 cup all-purpose flour
- 1 cup rolled oats
- 1 cup brown sugar
- 1/2 cup unsalted butter, melted
- 1 tsp cinnamon
- 1/2 tsp nutmeg
Equipment Needed
- 9-inch baking dish
- Mixing bowls
- Measuring cups and spoons
- Peeler and knife
Instructions
Preheat and Prepare
Start by preheating your oven to 375°F. While the oven heats, peel and slice your pears into thin slices. This ensures they cook evenly and become perfectly tender.
Mix the Topping
In a large bowl, combine the flour, oats, brown sugar, cinnamon, and nutmeg. Pour in the melted butter and stir until the mixture resembles coarse crumbs. This will be your crispy, golden topping.
Layer the Pears
Arrange the sliced pears in the bottom of your baking dish. Spread them out evenly to ensure every bite has plenty of juicy pear goodness.
Add the Topping
Sprinkle the crumb mixture over the pears, covering them completely. Don’t press down too hard; you want the topping to stay light and crisp.
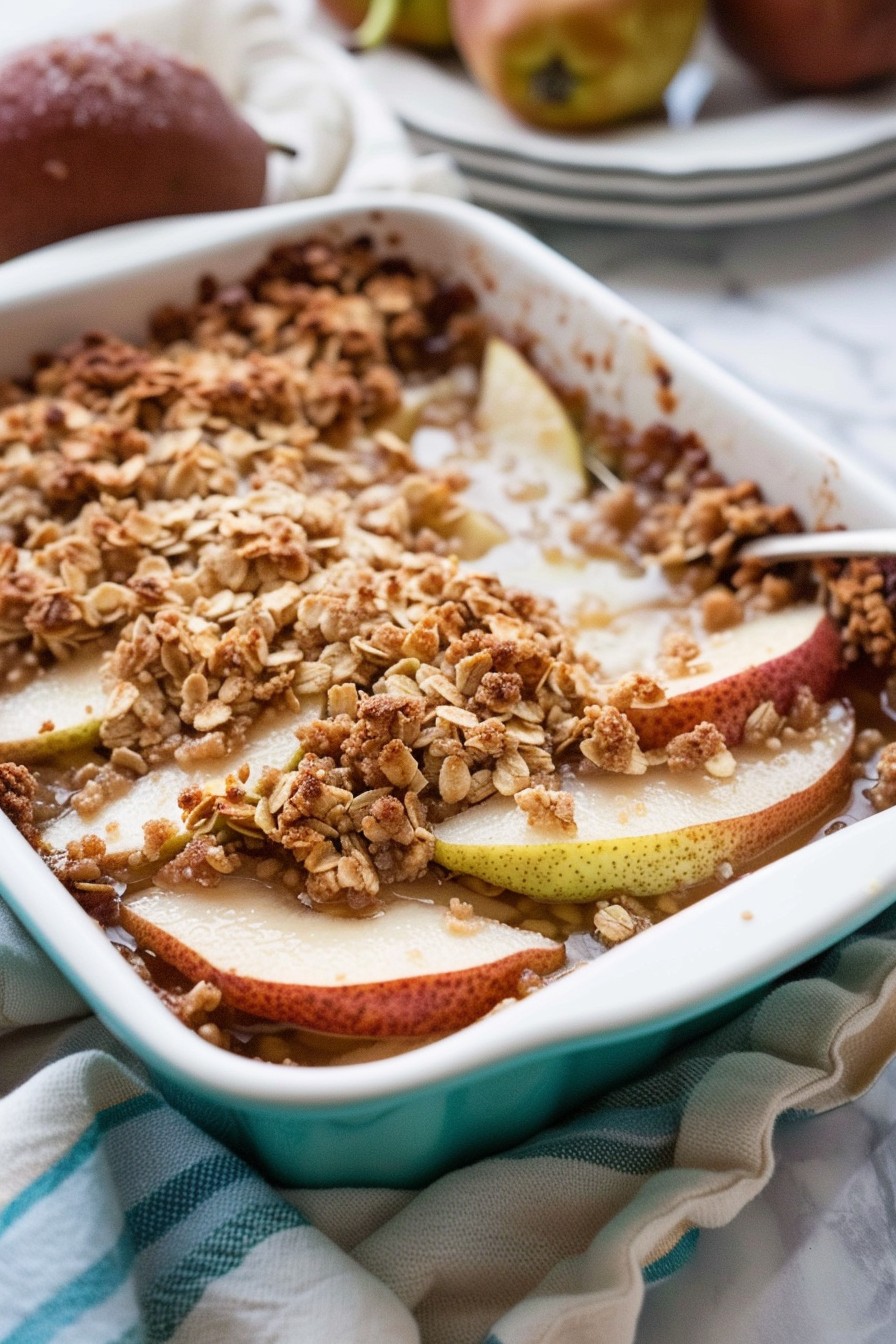
Bake to Perfection
Bake for 30-35 minutes, or until the topping is golden brown and the pears are bubbling around the edges. Let it cool for a few minutes before serving to allow the flavors to meld.
Tips and Tricks
For an extra crispy topping, try adding a handful of chopped nuts to the crumb mixture. If you’re short on time, you can use canned pears, but be sure to drain them well. For a deeper flavor, consider adding a splash of vanilla extract to the pears before baking.
Recipe Variations
- Swap pears for apples or a mix of both for a different flavor profile.
- Add a handful of dried cranberries or raisins to the pears for a pop of color and sweetness.
- For a gluten-free version, use almond flour instead of all-purpose flour.
Frequently Asked Questions
Can I make this recipe ahead of time?
Absolutely! You can assemble the crisp up to a day in advance and keep it refrigerated until you’re ready to bake. Just add a few extra minutes to the baking time if you’re starting from cold.
How do I store leftovers?
Leftovers can be stored in the refrigerator for up to 3 days. Reheat in the oven or microwave before serving to bring back the crispiness.
Can I freeze pear crisp?
Yes, you can freeze the baked crisp for up to 3 months. Thaw in the refrigerator overnight and reheat in the oven for best results.
Summary
This easy pear crisp is a delightful dessert that’s simple to make and endlessly adaptable. With its juicy pears and crunchy topping, it’s sure to become a favorite.