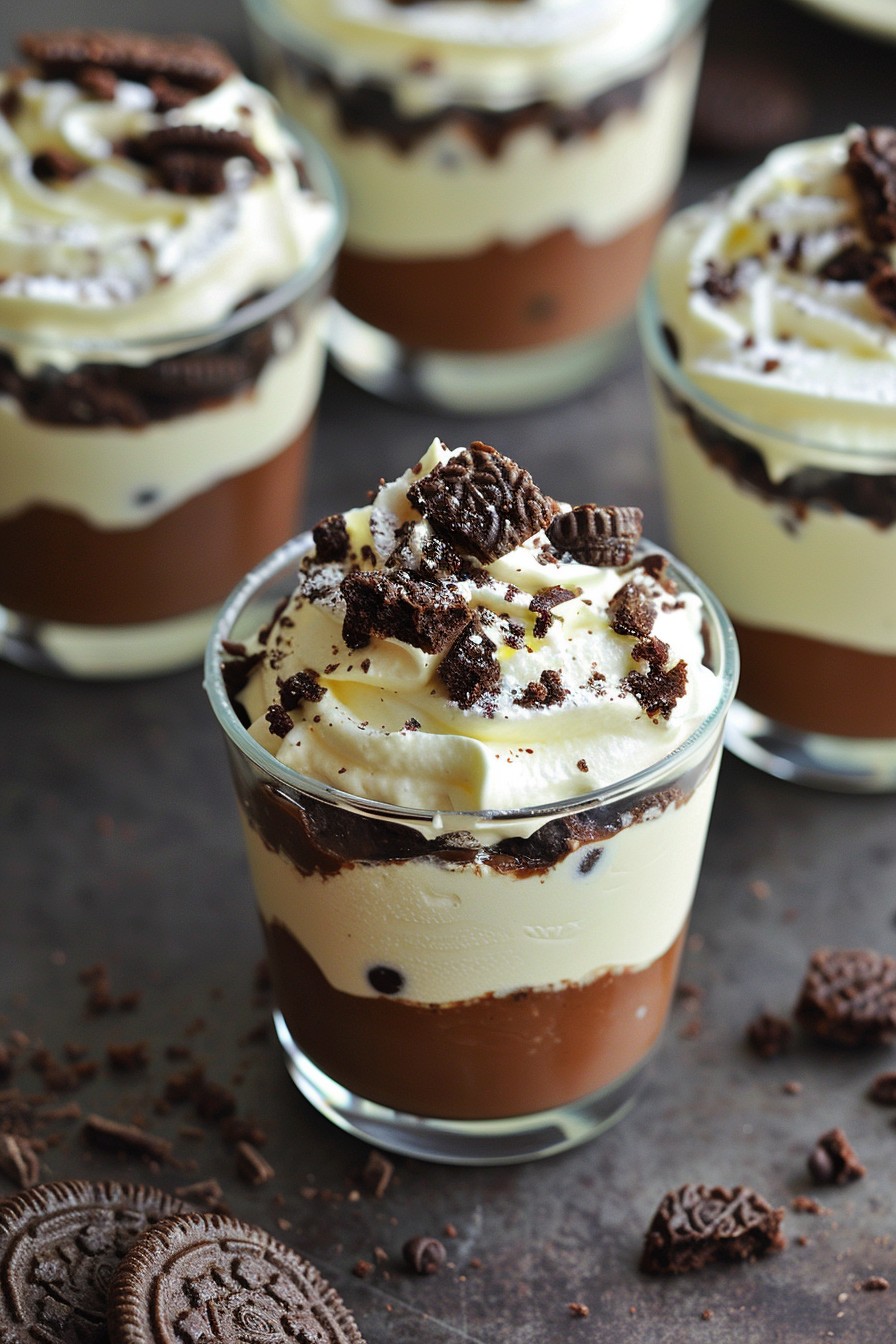
Let’s dive into a dessert that’s as fun to make as it is to eat. These Cookies & Cream Dessert Cups are the perfect no-bake treat for any occasion, combining the classic flavors of cookies and cream in a delightful, easy-to-make cup.
Why This Recipe Works
- No baking required, making it a quick and easy dessert option.
- The combination of creamy filling and crunchy cookie pieces creates a perfect texture contrast.
- Customizable with various toppings and mix-ins to suit any taste.
- Perfect for parties, potlucks, or a simple family dessert.
- Uses simple, readily available ingredients.
Ingredients
- 2 cups crushed chocolate sandwich cookies (about 20 cookies)
- 1/4 cup melted butter
- 1 (8 oz) package cream cheese, softened
- 1/2 cup powdered sugar
- 1 tsp vanilla extract
- 1 (8 oz) tub whipped topping, thawed
- Additional crushed cookies for topping
Equipment Needed
- Mixing bowls
- Electric mixer
- Measuring cups and spoons
- Muffin tin or dessert cups
- Spatula
Instructions
Step 1: Prepare the Cookie Crust
In a mixing bowl, combine the crushed chocolate sandwich cookies with the melted butter until the mixture resembles wet sand. Press this mixture firmly into the bottom of each dessert cup or muffin tin cavity to form the crust. Chill in the refrigerator for at least 15 minutes to set.
Step 2: Make the Creamy Filling
Using an electric mixer, beat the softened cream cheese until smooth. Gradually add the powdered sugar and vanilla extract, continuing to beat until fully incorporated. Gently fold in the whipped topping until the mixture is light and fluffy.
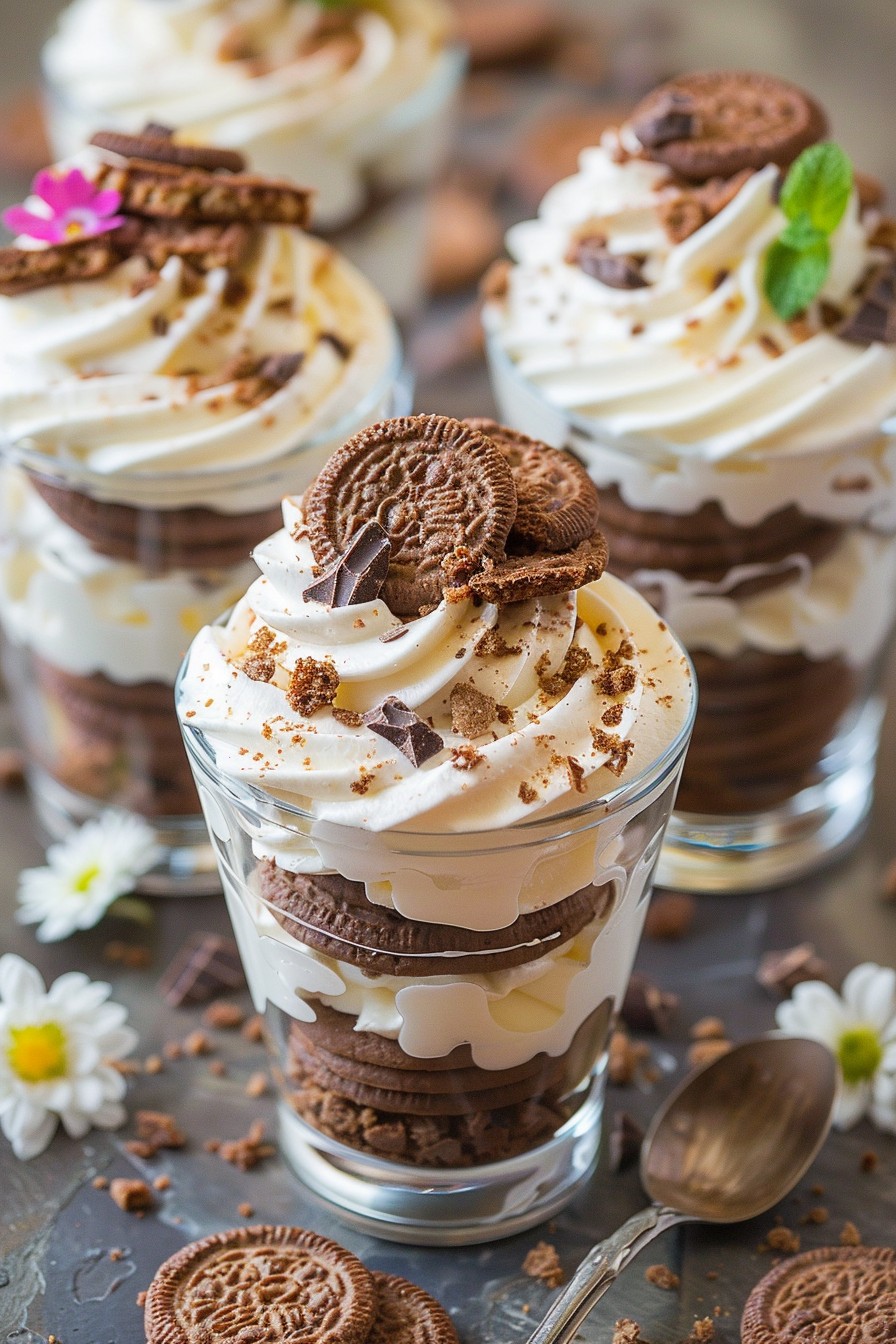
Step 3: Assemble the Dessert Cups
Spoon or pipe the creamy filling over the chilled cookie crust in each cup. Smooth the top with a spatula for an even layer. Sprinkle additional crushed cookies on top for extra crunch and flavor.
Step 4: Chill Before Serving
Refrigerate the dessert cups for at least 1 hour before serving. This allows the flavors to meld together and the filling to set properly.
Tips and Tricks
For an extra decadent touch, drizzle melted chocolate over the top before serving. If you’re short on time, you can use pre-made cookie crumbs instead of crushing whole cookies. To make these dessert cups even more special, try adding a layer of chocolate pudding or fresh berries between the crust and the creamy filling.
Recipe Variations
- Use peanut butter sandwich cookies instead of chocolate for a different flavor profile.
- Add mini chocolate chips or chopped nuts to the filling for added texture.
- For a festive twist, mix in some food coloring to the filling to match the occasion.
- Try using graham crackers instead of chocolate cookies for a s’mores-inspired version.
- Layer in some fruit preserves or caramel sauce for a sweet and tangy contrast.
Frequently Asked Questions
Can I make these dessert cups ahead of time?
Absolutely! These dessert cups can be made up to 2 days in advance. Just keep them covered in the refrigerator until you’re ready to serve. The crust may soften slightly over time, but they’ll still be delicious.
Can I freeze these dessert cups?
Yes, you can freeze them for up to a month. Thaw in the refrigerator overnight before serving. Note that the texture of the whipped topping may change slightly after freezing.
How can I make these dessert cups gluten-free?
Simply use gluten-free chocolate sandwich cookies and ensure all other ingredients are gluten-free. The recipe will work just as well with these substitutions.
Summary
These Cookies & Cream Dessert Cups are a no-bake, easy-to-make treat that’s perfect for any occasion. With a crunchy cookie crust and a creamy, fluffy filling, they’re sure to be a hit with everyone. Plus, they’re highly customizable, so you can make them your own!