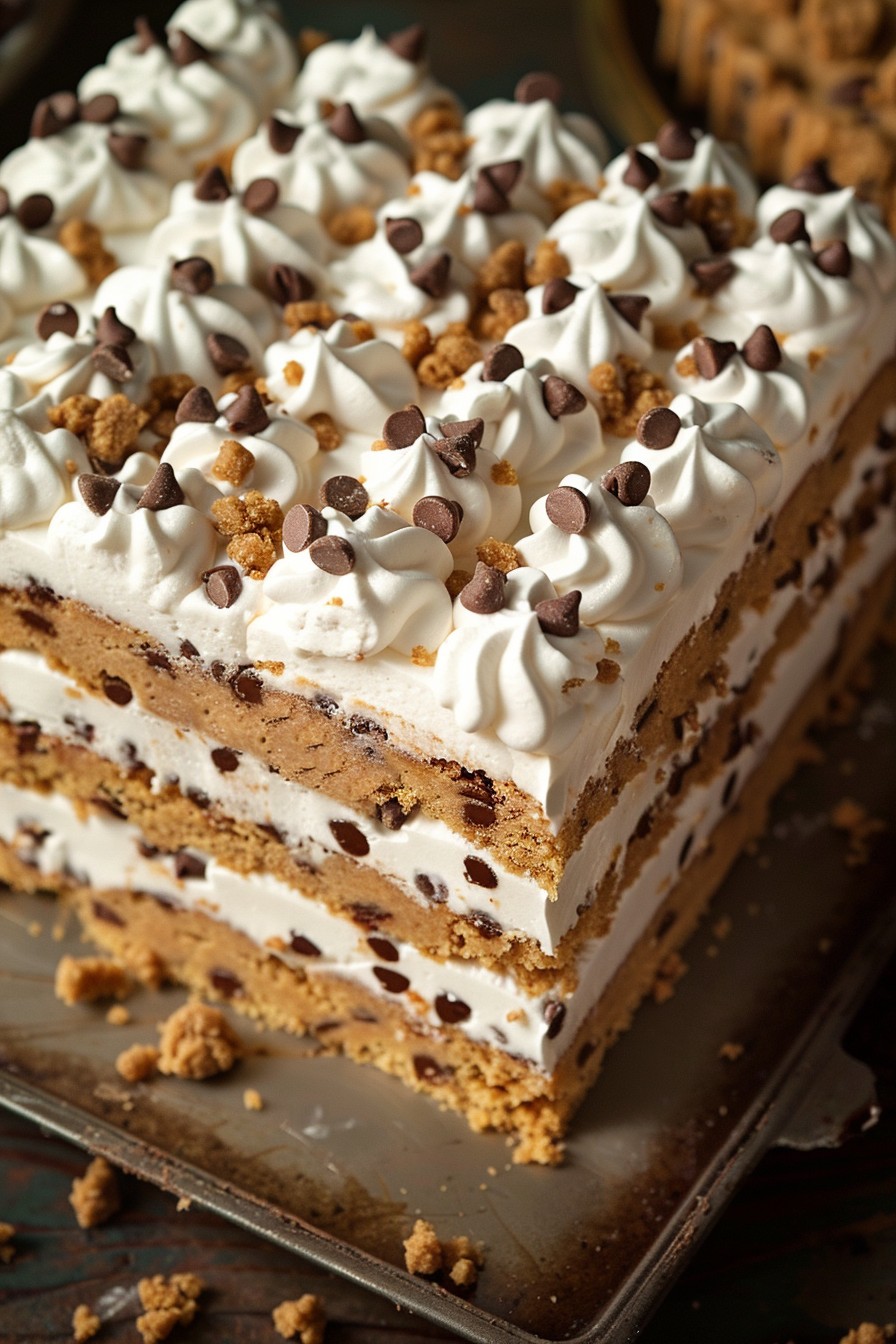
This cookie dough cake is the dream come true for anyone who can’t resist sneaking a bite of raw cookie dough. Combining the best of both worlds, this cake is a showstopper that’s surprisingly simple to make.
Why This Recipe Works
- It’s a no-bake cake, meaning you don’t have to worry about baking times or oven temperatures.
- The recipe uses edible cookie dough, so there’s no risk and all the fun.
- Layers of cookie dough and whipped cream create a texture that’s irresistibly creamy and chewy.
- Customizable with your favorite mix-ins, from chocolate chips to sprinkles.
- Perfect for any occasion, from birthdays to just because.
Ingredients
- 2 cups all-purpose flour, heat-treated
- 1 cup unsalted butter, softened
- 3/4 cup granulated sugar
- 3/4 cup packed brown sugar
- 1/4 cup milk
- 2 tsp vanilla extract
- 1/2 tsp salt
- 1 cup mini chocolate chips
- 2 cups heavy whipping cream
- 1/4 cup powdered sugar
Equipment Needed
- Stand mixer or hand mixer
- 9-inch springform pan
- Parchment paper
- Large mixing bowls
- Spatula
Instructions

Step 1: Prepare the Cookie Dough
In a large bowl, cream together the softened butter, granulated sugar, and brown sugar until light and fluffy. Add the milk and vanilla extract, mixing until combined. Gradually add the heat-treated flour and salt, mixing until just incorporated. Fold in the mini chocolate chips. Press half of the cookie dough into the bottom of a parchment-lined springform pan.
Step 2: Whip the Cream
In another bowl, whip the heavy cream and powdered sugar until stiff peaks form. This will be the fluffy layer of your cake.
Step 3: Layer the Cake
Spread half of the whipped cream over the cookie dough layer in the pan. Crumble the remaining cookie dough over the whipped cream, then top with the rest of the whipped cream. Smooth the top with a spatula.
Step 4: Chill the Cake
Refrigerate the cake for at least 4 hours, or overnight, to set. This step is crucial for the cake to hold its shape when sliced.
Step 5: Serve and Enjoy
Remove the cake from the springform pan, slice, and serve. For an extra touch, drizzle with chocolate sauce or sprinkle with additional chocolate chips.
Tips and Tricks
For the best results, make sure your butter is truly softened to room temperature before creaming. This ensures a smooth cookie dough base. When whipping the cream, chill your bowl and beaters in the freezer for 10 minutes beforehand to help the cream whip up faster and hold its shape better. If you’re short on time, you can freeze the cake for 2 hours instead of refrigerating, but be careful not to let it freeze solid.
Recipe Variations
- Swap out the chocolate chips for white chocolate chips or butterscotch chips for a different flavor profile.
- Add a layer of peanut butter between the cookie dough and whipped cream for a peanut butter lover’s dream.
- Incorporate crushed Oreos into the cookie dough for a cookies and cream version.
- Use food coloring to dye the whipped cream for a festive touch.
- Top the cake with caramel sauce and sea salt for a sweet and salty twist.
Frequently Asked Questions
Can I use regular flour instead of heat-treating it?
Heat-treating the flour is a safety measure to kill any potential bacteria, making the cookie dough safe to eat raw. If you’re comfortable with the risk, you can skip this step, but it’s not recommended.
How long does the cake last in the fridge?
The cake can be stored in the refrigerator for up to 3 days. Make sure it’s covered to prevent it from absorbing any odors.
Can I make this cake gluten-free?
Yes, simply substitute the all-purpose flour with your favorite gluten-free flour blend. Just make sure to heat-treat it as you would regular flour.
Summary
This cookie dough cake is a decadent, no-bake dessert that combines the creamy texture of whipped cream with the chewy goodness of edible cookie dough. It’s customizable, easy to make, and sure to impress.