Gather around, cookie lovers! It’s time to bake the most festive, chewy, and chocolatey cookies that will make your Christmas celebrations even merrier. These cookies are not just delicious; they’re a holiday tradition in the making.
Why This Recipe Works
- The combination of brown and white sugar gives these cookies the perfect balance of chewiness and crispiness.
- Using melted butter ensures a rich flavor and tender texture that’s hard to resist.
- Chilling the dough before baking prevents the cookies from spreading too much, resulting in thick, bakery-style cookies.
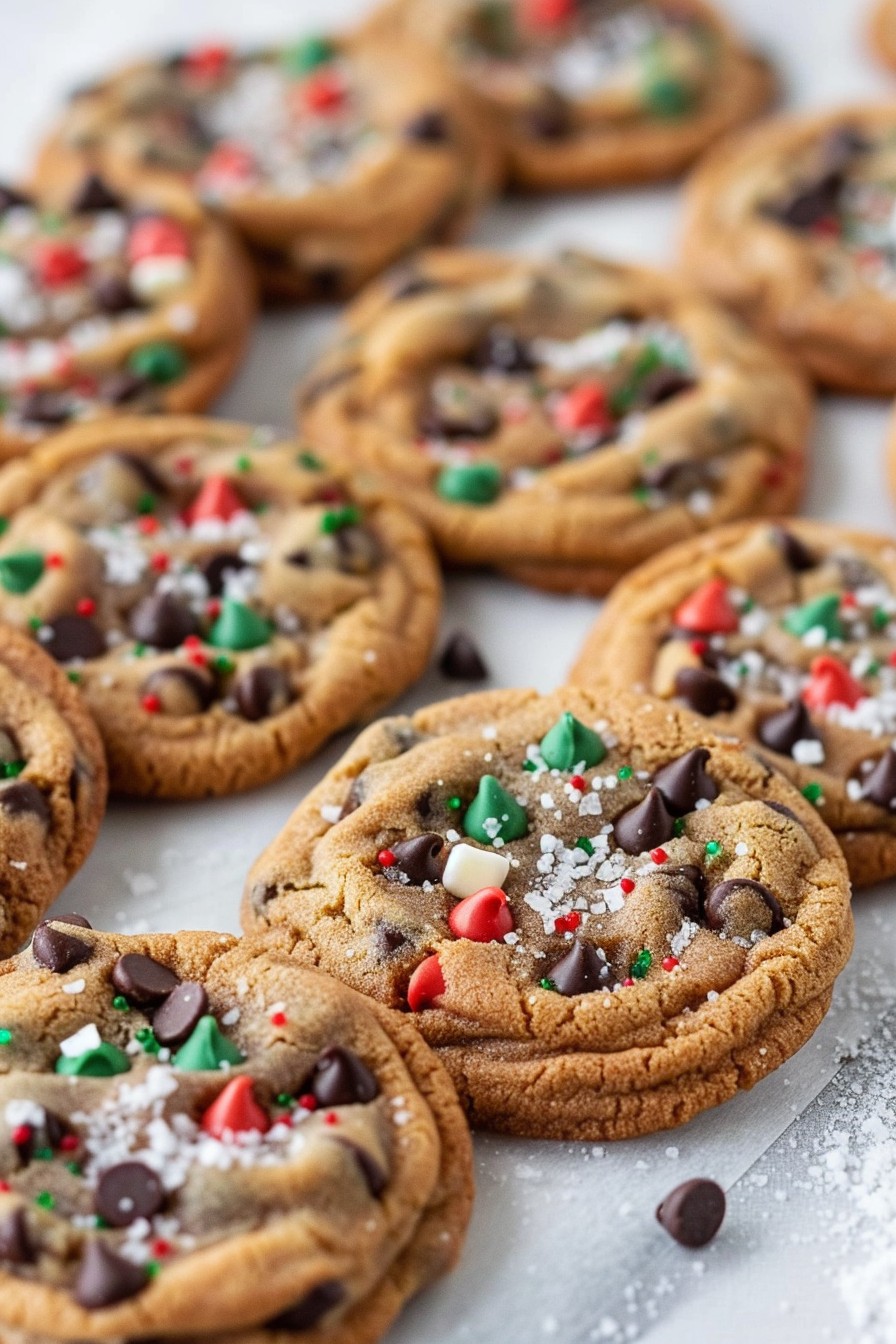
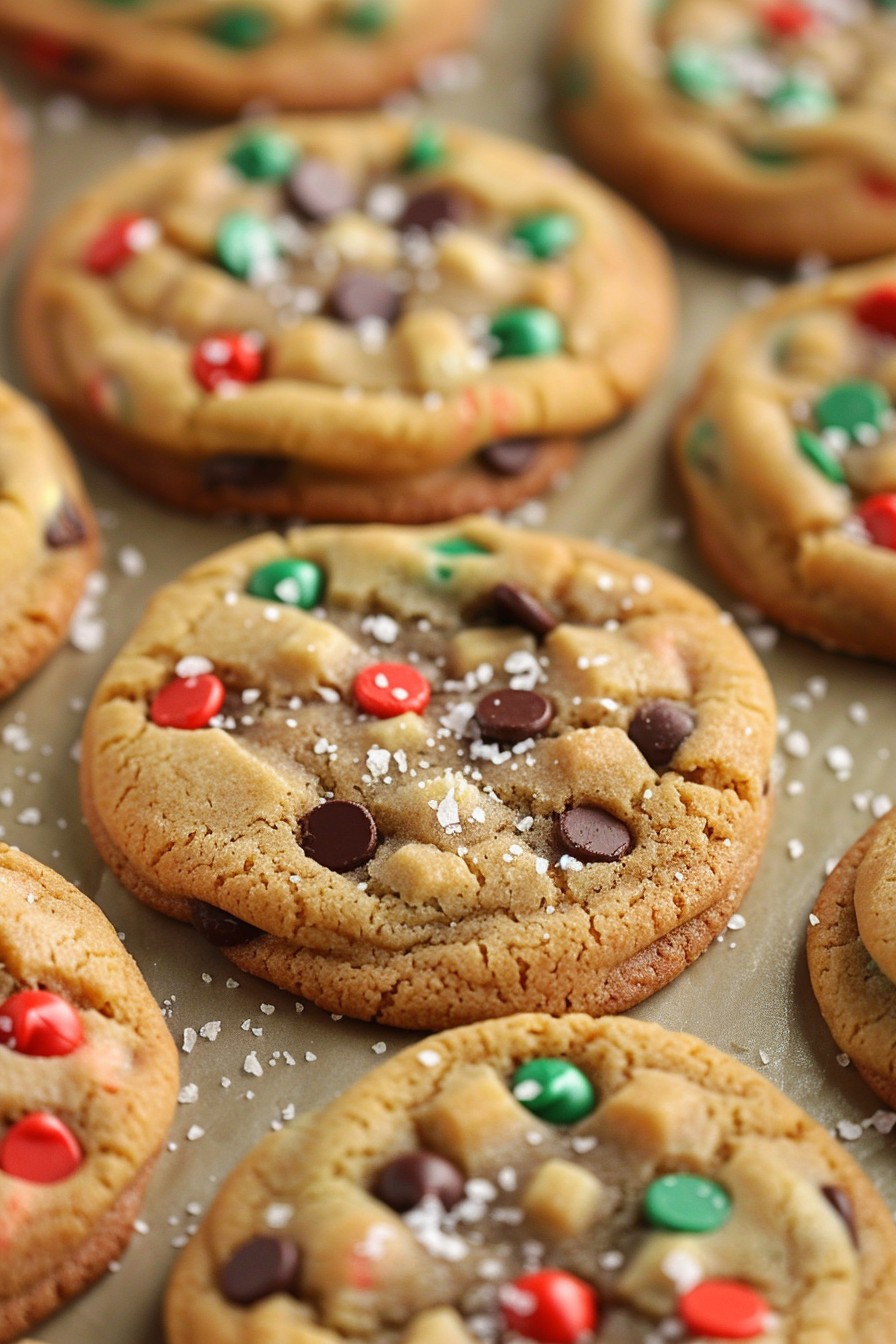
- The addition of festive red and green chocolate chips makes these cookies visually appealing and perfect for Christmas.
- A pinch of sea salt on top before baking enhances all the flavors, making each bite a delightful experience.
Ingredients
- 2 1/4 cups all-purpose flour
- 1 tsp baking soda
- 1 tsp salt
- 1 cup unsalted butter, melted
- 3/4 cup granulated sugar
- 3/4 cup packed brown sugar
- 2 large eggs
- 2 tsp vanilla extract
- 2 cups Christmas-colored chocolate chips
- Sea salt for sprinkling
Equipment Needed
- Mixing bowls
- Electric mixer
- Measuring cups and spoons
- Baking sheets
- Parchment paper
- Cookie scoop or spoon
Instructions
Step 1: Mix the Dry Ingredients
In a large bowl, whisk together the flour, baking soda, and salt. This ensures your cookies have a uniform texture and the leavening is evenly distributed. A little tip: sifting the flour can make your cookies even lighter.
Step 2: Cream the Butter and Sugars
Using an electric mixer, beat the melted butter, granulated sugar, and brown sugar until the mixture is light and fluffy. This usually takes about 2 minutes. The sugars should be completely dissolved into the butter for the best texture.
Step 3: Add Eggs and Vanilla
Beat in the eggs one at a time, then stir in the vanilla. Make sure each egg is fully incorporated before adding the next to avoid a runny dough. The vanilla adds a depth of flavor that makes these cookies irresistible.
Step 4: Combine Wet and Dry Ingredients
Gradually add the dry ingredients to the wet ingredients, mixing just until combined. Overmixing can lead to tough cookies, so stop as soon as you no longer see streaks of flour.
Step 5: Fold in Chocolate Chips
Gently fold in the Christmas-colored chocolate chips until they’re evenly distributed throughout the dough. This ensures every cookie is packed with festive chips.
Step 6: Chill the Dough
Cover the dough and chill it in the refrigerator for at least 1 hour. This step is crucial for preventing the cookies from spreading too much during baking.
Step 7: Bake the Cookies
Preheat your oven to 375°F and line baking sheets with parchment paper. Scoop the dough onto the sheets, leaving plenty of space between each cookie. Bake for 9-11 minutes, until the edges are golden but the centers are still soft. Sprinkle with sea salt right after baking for that perfect sweet-salty contrast.
Tips and Tricks
For cookies that are consistently the same size, use a cookie scoop. If you don’t have one, a tablespoon measure works well too. To keep your cookies soft after baking, store them in an airtight container with a slice of bread. The cookies will absorb the moisture from the bread, staying soft for days. If you’re in a hurry, you can freeze the dough balls and bake them straight from the freezer, just add a couple of minutes to the baking time.
Recipe Variations
- For a nutty twist, add 1 cup of chopped walnuts or pecans to the dough.
- Swap out the chocolate chips for white chocolate chips and dried cranberries for a different festive look and taste.
- Make them gluten-free by using a 1:1 gluten-free flour blend instead of all-purpose flour.
- Add a teaspoon of peppermint extract for a refreshing minty flavor that pairs wonderfully with chocolate.
- For double chocolate cookies, replace 1/4 cup of flour with cocoa powder.
Frequently Asked Questions
Can I use salted butter instead of unsalted?
Yes, you can use salted butter, but you might want to reduce the added salt in the recipe by half to avoid overly salty cookies. The key is to balance the flavors to your liking.
Why do I need to chill the dough?
Chilling the dough solidifies the fat in the cookies, which prevents them from spreading too much during baking. This results in thicker, chewier cookies with a better texture.
Can I freeze the baked cookies?
Absolutely! These cookies freeze beautifully. Just make sure they’re completely cooled before storing them in an airtight container or freezer bag. They’ll keep for up to 3 months.
Summary
These Christmas Chocolate Chip Cookies are the perfect blend of chewy and crispy, with a festive twist that makes them a holiday must-have. Follow the tips and variations to make them your own, and enjoy the delicious results!