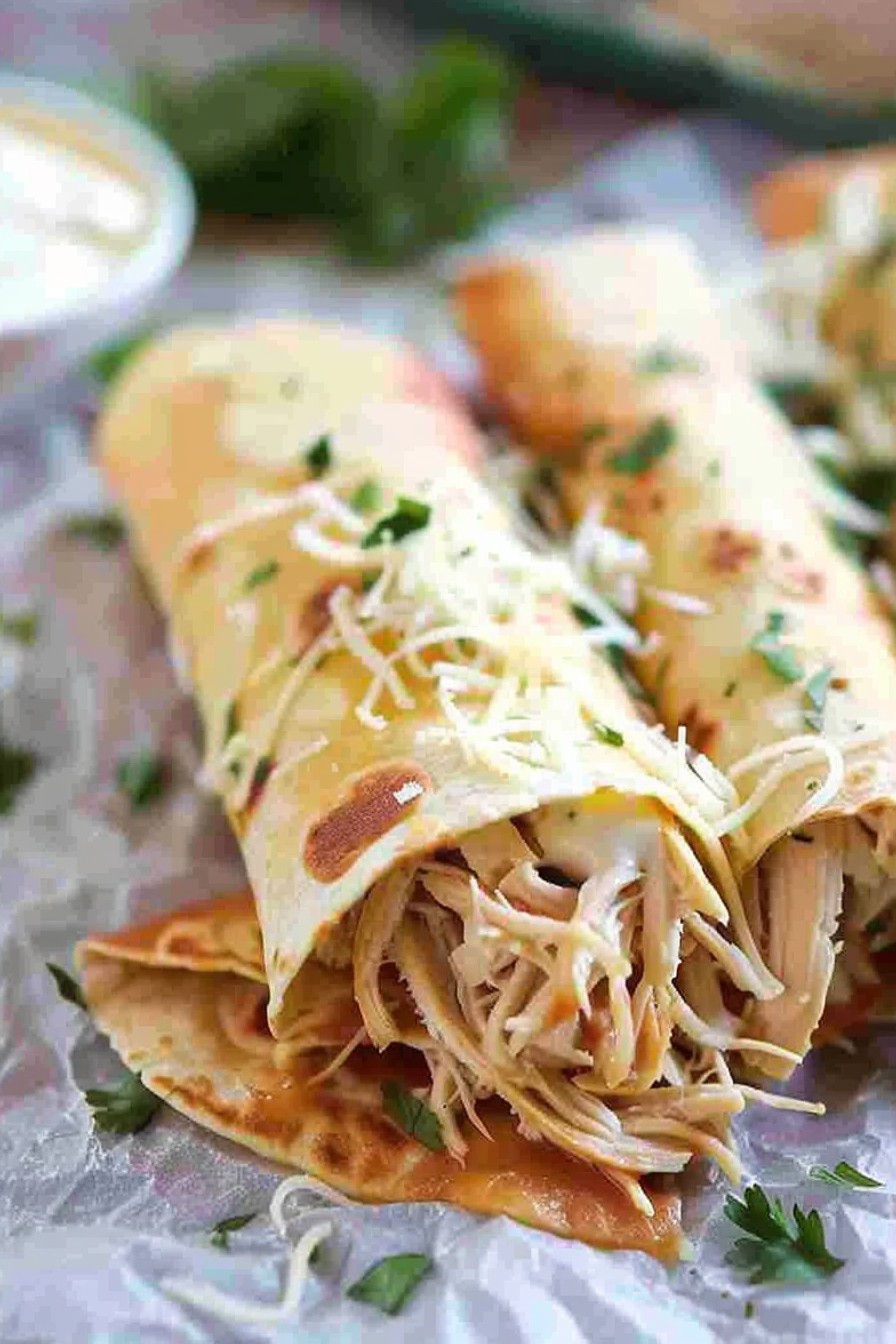
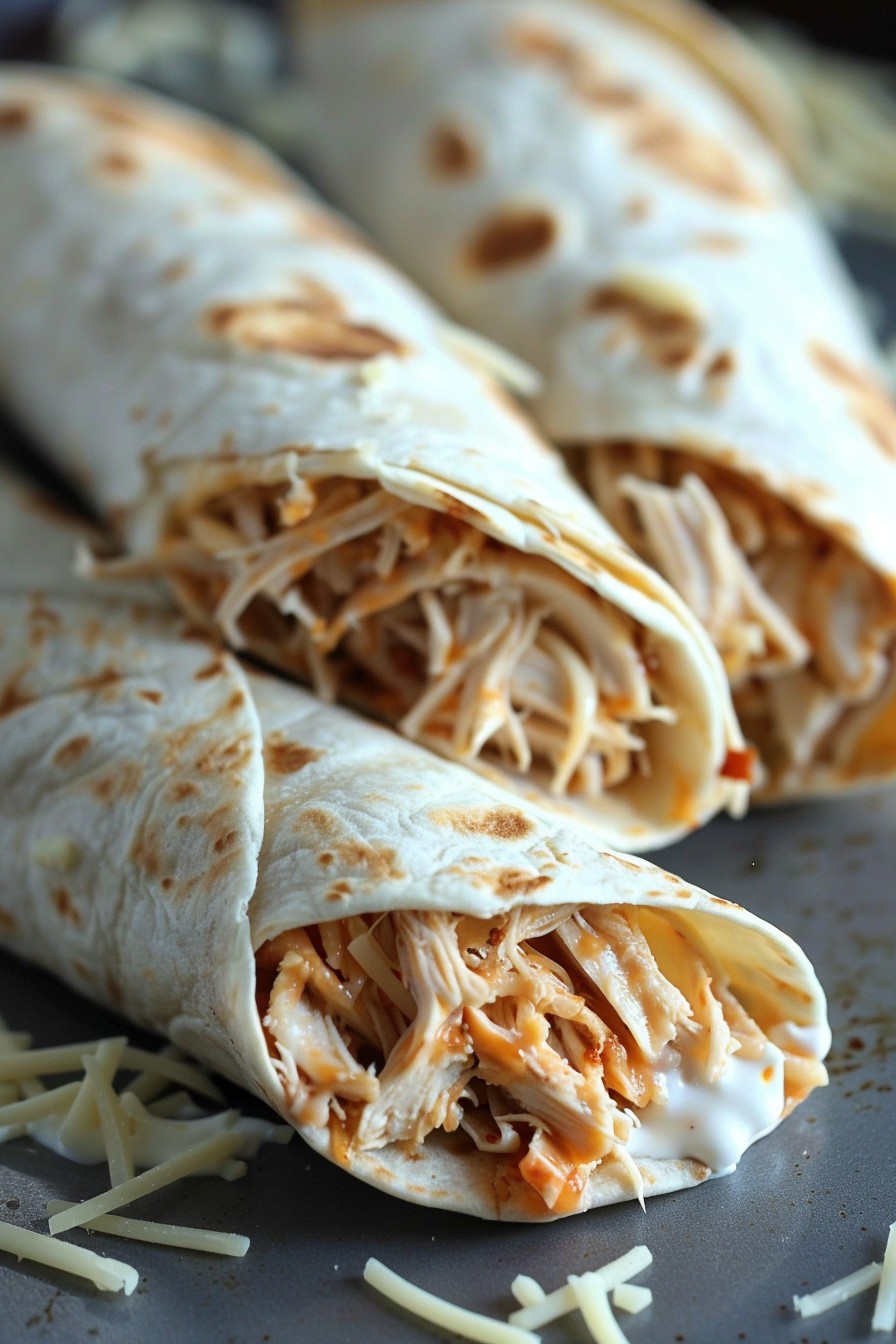
Delight your taste buds with these irresistibly cheesy garlic chicken wraps. Perfect for a quick dinner or a fun lunch, these wraps are packed with flavor and ready in no time.
Why This Recipe Works
- The combination of garlic and cheese creates a mouthwatering flavor that’s hard to resist.
- Using pre-cooked chicken saves time without sacrificing taste.
- The wraps are versatile, allowing for endless customization based on your preferences.
- They’re a great way to sneak in some veggies for picky eaters.
- Perfect for meal prep, these wraps can be made ahead and stored for quick meals throughout the week.
Ingredients
- 2 cups shredded cooked chicken
- 1 cup shredded mozzarella cheese
- 1/2 cup grated Parmesan cheese
- 3 cloves garlic, minced
- 1/4 cup mayonnaise
- 1/4 cup sour cream
- 4 large flour tortillas
- 1 tbsp olive oil
- Salt and pepper to taste
Equipment Needed
- Mixing bowl
- Skillet
- Spatula
- Measuring cups and spoons
Instructions
Step 1: Prepare the Garlic Cheese Mixture
In a large mixing bowl, combine the shredded chicken, mozzarella cheese, Parmesan cheese, minced garlic, mayonnaise, and sour cream. Mix until all ingredients are well incorporated. Season with salt and pepper to taste. This mixture is the heart of your wraps, so make sure it’s flavorful!
Step 2: Warm the Tortillas
Heat a skillet over medium heat and lightly brush each tortilla with olive oil. Warm each tortilla for about 30 seconds on each side until they’re pliable and slightly golden. This step prevents the tortillas from cracking when you roll them.
Step 3: Assemble the Wraps
Divide the chicken and cheese mixture evenly among the tortillas, spreading it in the center of each. Fold the sides of the tortillas in, then roll them up tightly from the bottom to encase the filling. Secure with toothpicks if necessary.
Step 4: Cook the Wraps
Return the skillet to medium heat and place the wraps seam-side down. Cook for 2-3 minutes on each side or until the tortillas are crispy and golden brown and the cheese is melted. Keep an eye on them to prevent burning.
Step 5: Serve and Enjoy
Let the wraps cool for a minute before slicing them in half diagonally. Serve warm with your favorite dipping sauce or a side salad for a complete meal.
Tips and Tricks
For an extra crispy exterior, you can brush the outside of the wraps with a little more olive oil before cooking. If you’re short on time, using a rotisserie chicken is a great shortcut. To add a bit of heat, mix in some diced jalapeños or a dash of hot sauce into the chicken mixture. For a healthier version, substitute the mayonnaise and sour cream with Greek yogurt. Always let the wraps sit for a minute after cooking to allow the cheese to set slightly, making them easier to cut.
Recipe Variations
- Swap the chicken for beef or turkey for a different protein option.
- Add in some sautéed mushrooms or spinach for an extra veggie boost.
- Use different cheeses like cheddar or pepper jack for a new flavor profile.
- For a low-carb option, use lettuce leaves instead of tortillas.
- Add some bacon bits for a smoky flavor.
Frequently Asked Questions
Can I make these wraps ahead of time?
Absolutely! You can assemble the wraps a day in advance and store them in the refrigerator. Just cook them when you’re ready to eat. They might take a minute or two longer to cook since they’ll be cold from the fridge.
Can I freeze these wraps?
Yes, these wraps freeze well. Wrap them individually in foil or plastic wrap and store in a freezer bag. To reheat, thaw in the refrigerator overnight and then cook as directed, adding a little extra time if needed.
What can I serve with these wraps?
These wraps are great on their own or with a side of chips, a simple salad, or some roasted vegetables. For dipping, ranch, barbecue sauce, or a spicy mayo are all excellent choices.
Summary
These cheesy garlic chicken wraps are a quick, delicious, and versatile meal option that’s perfect for any day of the week. With simple ingredients and easy steps, you’ll have a flavorful dish that everyone will love.