
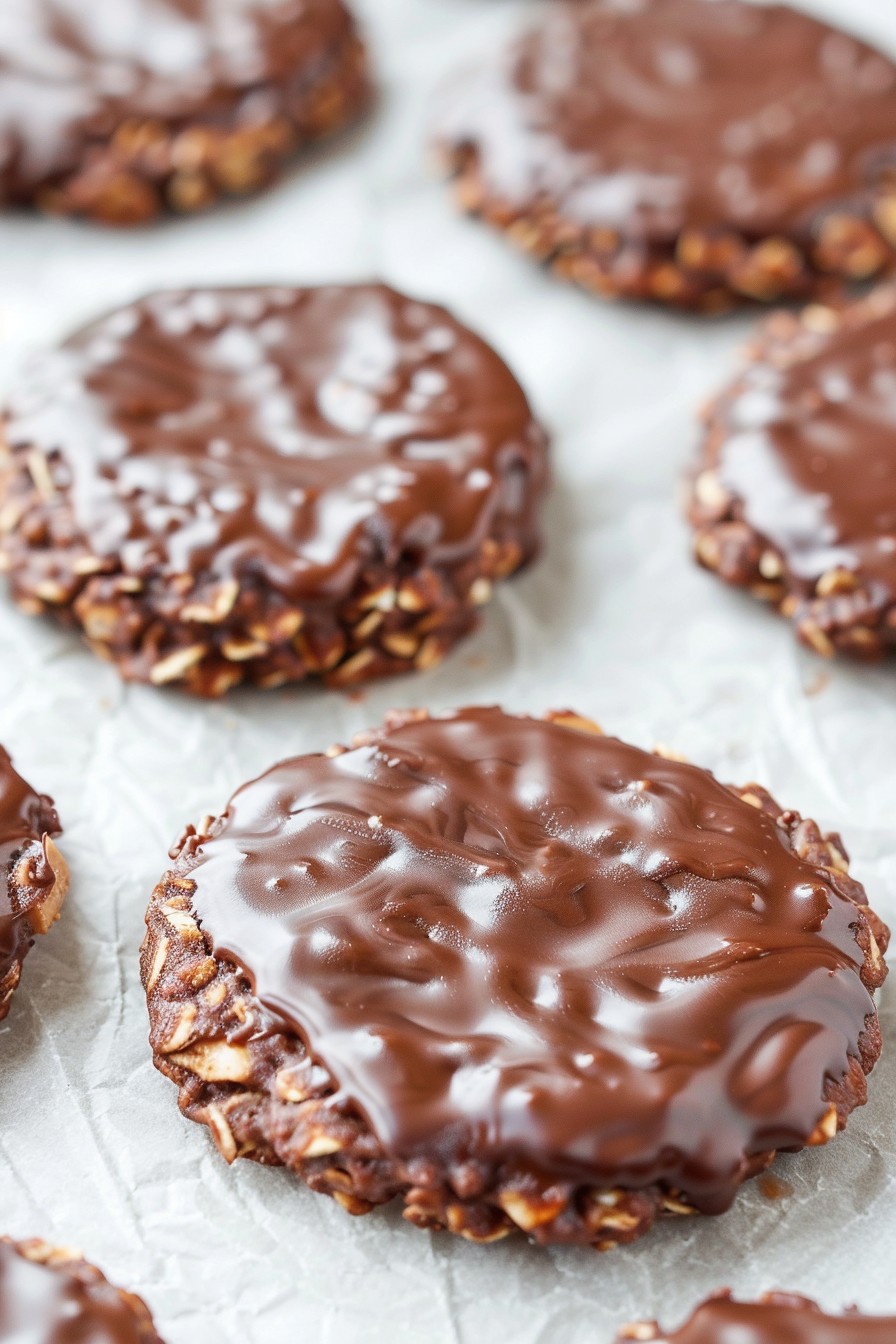
Zesty and zippy, these no-bake cookies are your ticket to dessert heaven without turning on the oven. Perfect for those scorching summer days or when you’re just too lazy to bake but crave something sweet.
Why This Recipe Works
- No oven required means you stay cool and save energy.
- Combines the unbeatable trio of chocolate, peanut butter, and oats for a satisfying treat.
- Quick to prepare, with most of the time spent waiting for them to set.
- Versatile recipe that welcomes substitutions and additions.
- Perfect for making with kids, no hot surfaces involved.
Ingredients
- 1/2 cup unsalted butter
- 2 cups granulated sugar
- 1/2 cup milk
- 4 tbsp cocoa powder
- 1/2 cup peanut butter
- 1 tsp vanilla extract
- 3 cups quick-cooking oats
Equipment Needed
- Large saucepan
- Wooden spoon
- Measuring cups and spoons
- Wax paper or parchment paper
- Baking sheets
Instructions
Step 1: Melt the Butter, Sugar, Milk, and Cocoa
In a large saucepan over medium heat, combine the butter, sugar, milk, and cocoa powder. Stir continuously with a wooden spoon until the butter is completely melted and the mixture is smooth. This should take about 5 minutes. Tip: Keep the heat at medium to prevent burning.
Step 2: Boil the Mixture
Once the mixture is smooth, bring it to a rolling boil. Let it boil for exactly 1 minute, then remove from heat. Timing is crucial here to ensure the cookies set properly.
Step 3: Add Peanut Butter and Vanilla
Stir in the peanut butter and vanilla extract until fully incorporated. The mixture should be glossy and smooth. Tip: Use creamy peanut butter for a smoother texture.
Step 4: Mix in the Oats
Add the oats to the saucepan and stir until they’re completely coated with the chocolate mixture. If the mixture seems too thick, you can add a tablespoon of milk to loosen it up.
Step 5: Form the Cookies
Drop tablespoon-sized portions of the mixture onto wax paper-lined baking sheets. Let them cool at room temperature until set, about 30 minutes. Tip: For uniform cookies, use a cookie scoop.
Tips and Tricks
For those looking to elevate their no-bake cookie game, consider toasting the oats before adding them to the mixture for a deeper flavor. If you’re in a hurry, placing the cookies in the refrigerator can speed up the setting process. For a crunchier texture, add a handful of chopped nuts or coconut flakes to the mixture before forming the cookies. Remember, the key to perfect no-bake cookies is in the boil; too little and they won’t set, too much and they’ll be dry.
Recipe Variations
- Swap peanut butter for almond or sunflower seed butter for a different flavor profile.
- Add a pinch of sea salt on top of each cookie before they set for a sweet and salty contrast.
- Mix in mini chocolate chips or dried fruit for added texture and sweetness.
- Use honey or maple syrup in place of sugar for a natural sweetener option.
- For a vegan version, substitute the butter with coconut oil and use almond milk.
Frequently Asked Questions
Can I use old-fashioned oats instead of quick-cooking oats?
Yes, you can use old-fashioned oats, but the texture will be chewier. Quick-cooking oats are preferred for their ability to absorb the liquid better, resulting in a more uniform texture.
How long do these cookies last?
Stored in an airtight container at room temperature, these cookies can last up to a week. If you live in a humid climate, you might want to store them in the refrigerator to prevent them from becoming too soft.
Can I freeze these cookies?
Absolutely! These cookies freeze well. Just place them in a single layer in a freezer-safe container, separating layers with parchment paper. They can be frozen for up to 3 months. Thaw at room temperature before serving.
Summary
These no-bake chocolate peanut butter oatmeal cookies are the perfect easy treat for any occasion. With minimal ingredients and no oven required, they’re quick to make and delicious to eat. Customize them to your liking and enjoy a hassle-free dessert that satisfies any sweet tooth.