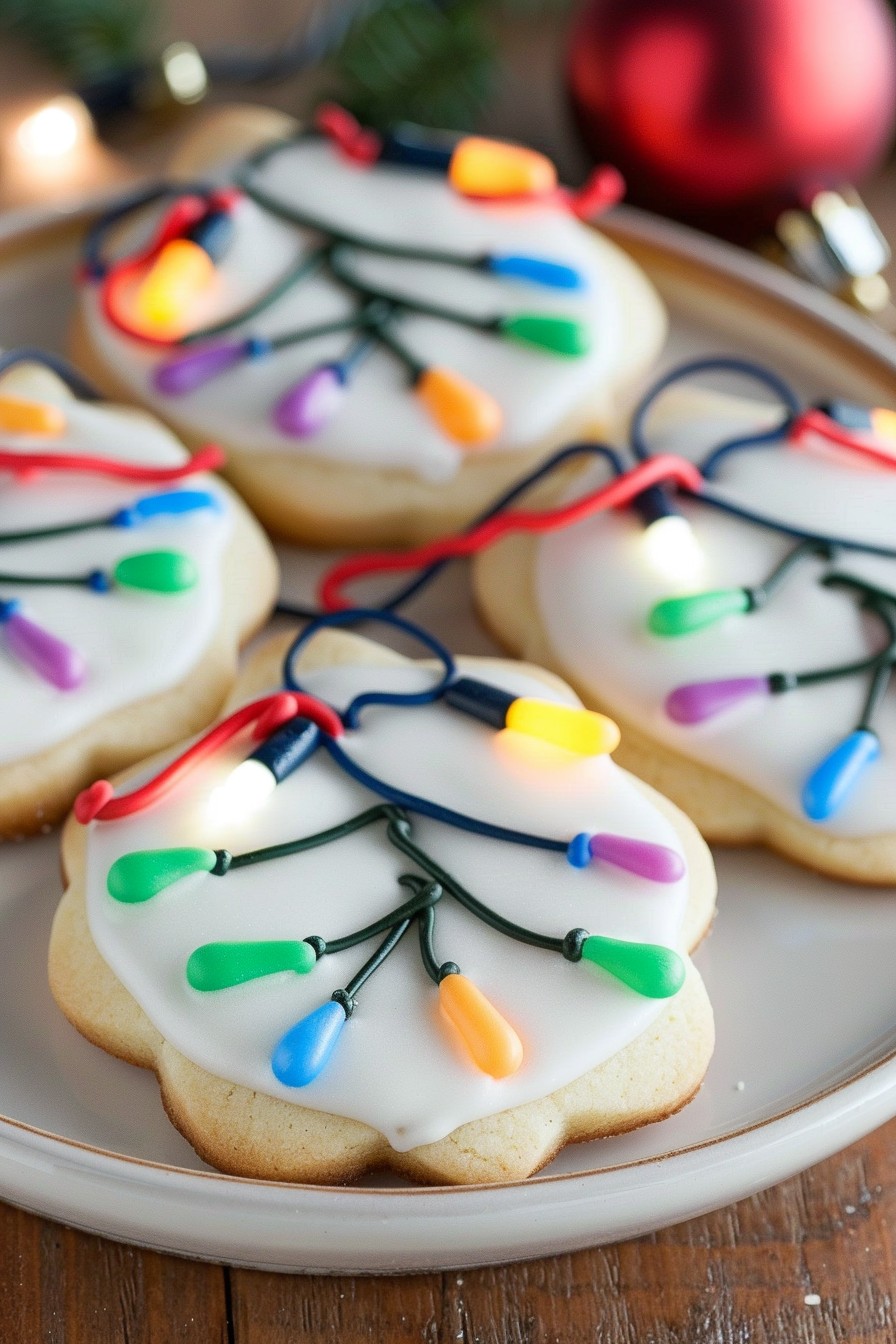
Nothing says holiday cheer like a batch of beautifully decorated sugar cookies. These Christmas Lights Royal Icing Sugar Cookies are not only delicious but also a fun way to add some sparkle to your holiday festivities. Perfect for cookie exchanges, gifts, or just a festive treat for the family.
Why This Recipe Works
- The dough is perfectly sweet and holds its shape when baked, making it ideal for detailed decorations.
- Royal icing dries hard, allowing for intricate designs and stacking without smudging.
- Using gel food coloring gives vibrant, fade-resistant hues that make your cookies pop.
- The recipe is scalable, so you can make as many or as few cookies as you need.
- These cookies are a hit with both kids and adults, making them a versatile holiday treat.
Ingredients
- 3 cups all-purpose flour
- 1/2 tsp baking powder
- 1/4 tsp salt
- 1 cup unsalted butter, softened
- 1 cup granulated sugar
- 1 large egg
- 1 tsp vanilla extract
- For the royal icing: 3 cups powdered sugar, 2 tbsp meringue powder, 1/3 cup warm water, gel food coloring in assorted colors
Equipment Needed
- Stand mixer or hand mixer
- Rolling pin
- Cookie cutters (Christmas light bulb shape recommended)
- Piping bags and tips
- Wire cooling rack
Instructions
Step 1: Prepare the Dough
In a medium bowl, whisk together the flour, baking powder, and salt. In a large bowl, beat the butter and sugar until light and fluffy. Add the egg and vanilla, mixing until combined. Gradually add the dry ingredients to the wet, mixing until a dough forms. Tip: If the dough is too sticky, chill it for 30 minutes before rolling.
Step 2: Roll and Cut the Cookies
Preheat your oven to 350°F. On a floured surface, roll the dough to 1/4-inch thickness. Use your cookie cutter to cut out shapes, transferring them to a parchment-lined baking sheet. Tip: For uniform thickness, use rolling pin guides or dowels on either side of the dough.
Step 3: Bake to Perfection
Bake the cookies for 8-10 minutes, or until the edges are just starting to turn golden. Let them cool on the baking sheet for 5 minutes before transferring to a wire rack to cool completely. Tip: Rotate the baking sheet halfway through baking for even browning.
Step 4: Prepare the Royal Icing
In a large bowl, combine the powdered sugar and meringue powder. Gradually add the water, beating on low speed until the icing is thick and glossy. Divide the icing into separate bowls and tint with gel food coloring as desired.
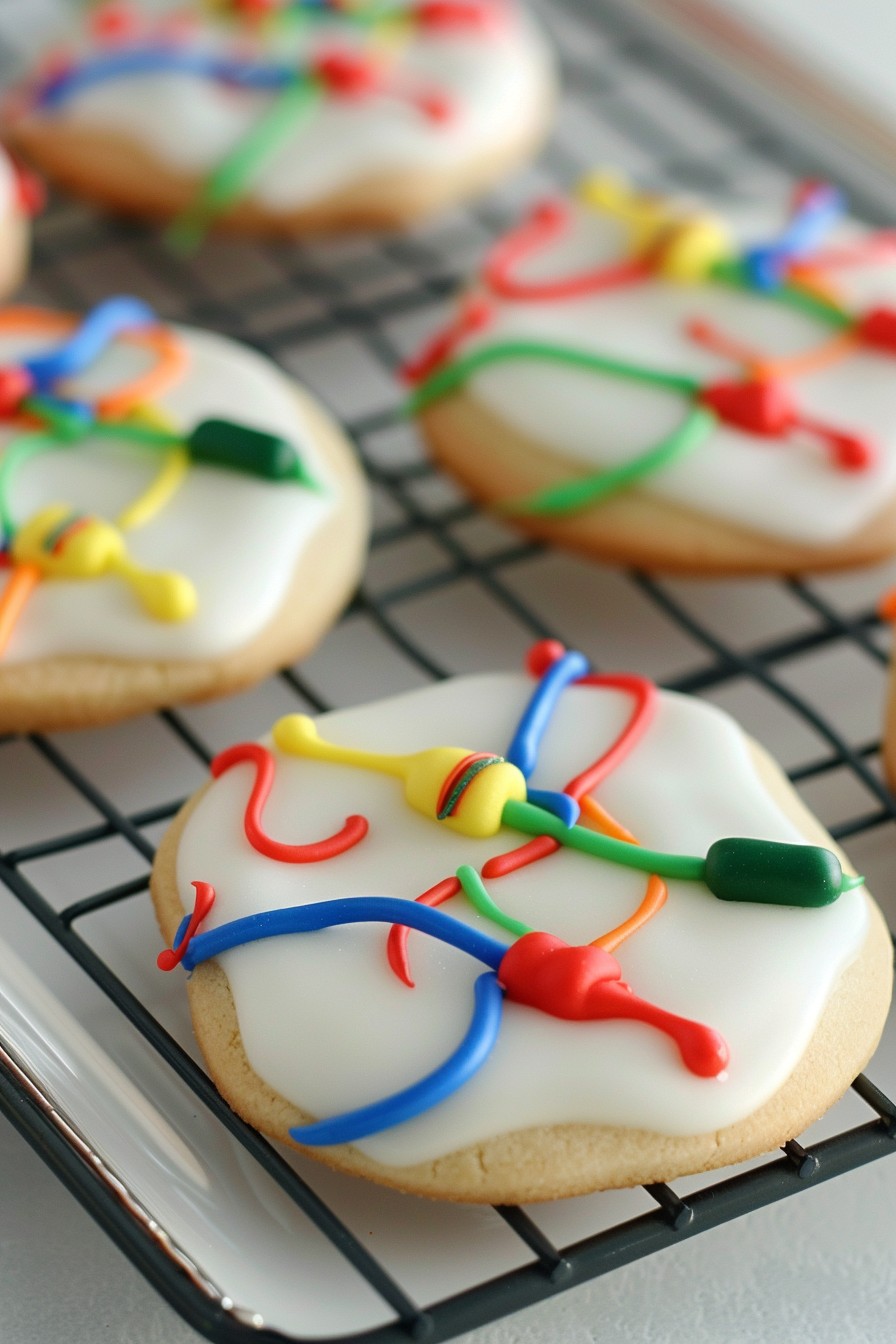
Step 5: Decorate Your Cookies
Using piping bags fitted with small round tips, outline and fill each cookie with royal icing. Add details like ‘lights’ and ‘wires’ to create a Christmas lights effect. Let the icing dry completely before serving or packaging.
Tips and Tricks
For the smoothest royal icing, sift your powdered sugar before mixing. If you’re new to decorating, practice your piping on parchment paper before moving to cookies. To speed up drying time, place cookies in front of a fan on low speed. For added sparkle, sprinkle edible glitter on the wet icing. Store decorated cookies in an airtight container with parchment between layers to prevent sticking.
Recipe Variations
- Swap the vanilla extract for almond or peppermint for a different flavor profile.
- Use different cookie cutter shapes like stars or trees for variety.
- Add sprinkles or nonpareils to the wet icing for extra texture and color.
- For a chocolate version, replace 1/2 cup of flour with cocoa powder.
- Make it gluten-free by using a 1:1 gluten-free flour blend.
Frequently Asked Questions
Can I make the dough ahead of time?
Absolutely! The dough can be refrigerated for up to 3 days or frozen for up to 3 months. Just let it come to room temperature before rolling.
How do I store decorated cookies?
Decorated cookies can be stored in an airtight container at room temperature for up to a week. For longer storage, freeze them in a single layer before transferring to a container.
Can I use liquid food coloring instead of gel?
While you can use liquid food coloring, gel colors are preferred because they’re more concentrated and won’t thin out your icing.
Summary
These Christmas Lights Royal Icing Sugar Cookies are a festive and fun way to celebrate the holiday season. With a little patience and creativity, you can create stunning edible decorations that are sure to impress.